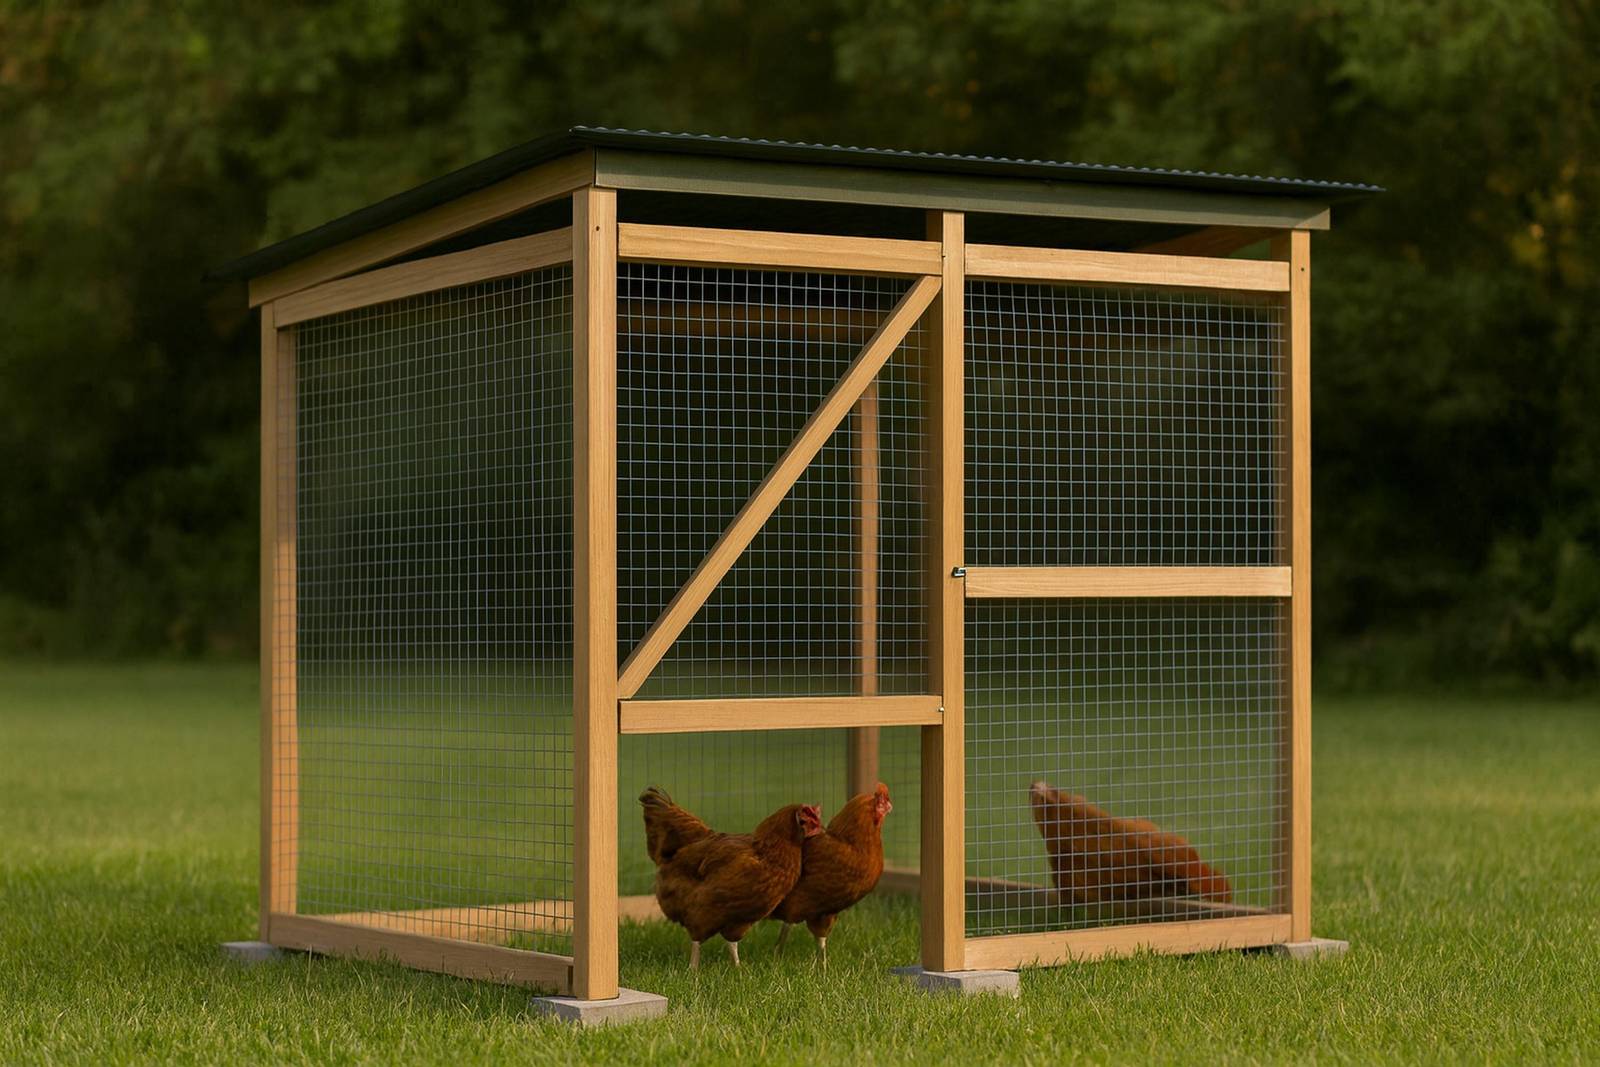
6x8 Standalone Chicken Run
Walk-in coop with a 6×8 screened run. One weekend (10-14 hrs).
- Coop
- 0 sq ft
- Run
- 48 sq ft
- Holds
- outdoor space for 6–9 hens
- Materials
- $850–$1,100
Complete, dimensioned chicken coop plans you can build from — walk-in coops, A-frames, chicken tractors and standalone runs. Every design page carries elevation drawings, the full material list, and a cut table giving every part, quantity and length — free, no email — plus a free preview PDF. The complete plan books are $4.99 on Etsy.
Free specs + previews · No email required · Drawn by us, not scraped from Pinterest
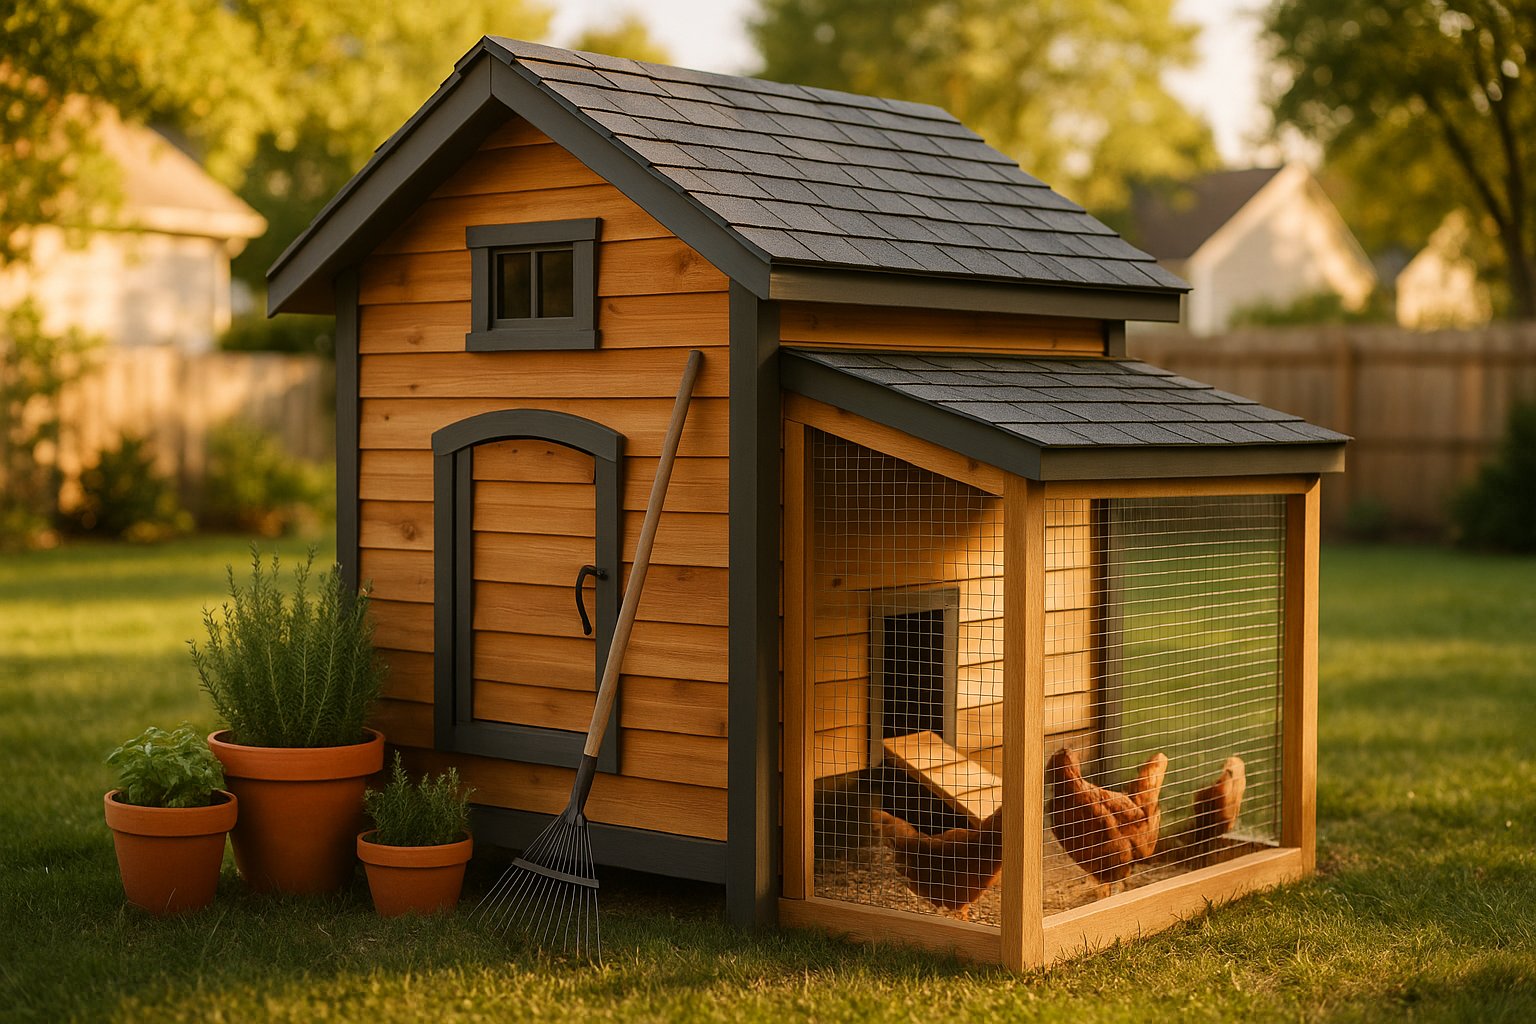
The line spans four families — raised-floor walk-in coops, movable tractors, standalone walk-in runs and a wall-mounted nest bank — all framed 16" on centre to published span tables, with 1/4-inch hardware cloth and two-action latches everywhere it matters. Every page publishes its specs and cut tables free. Pick the size that fits your flock at 4 square feet of coop floor per bird.
Walk-in coop with a 6×8 screened run. One weekend (10-14 hrs).

Walk-in coop with a 8×16 screened run. Three to four days (22-30 hrs).

Walk-in coop with a 10×20 screened run. Four to five days (30-40 hrs).
Reach-in coop with a 0.25×0 screened run. One afternoon (3-5 hrs).
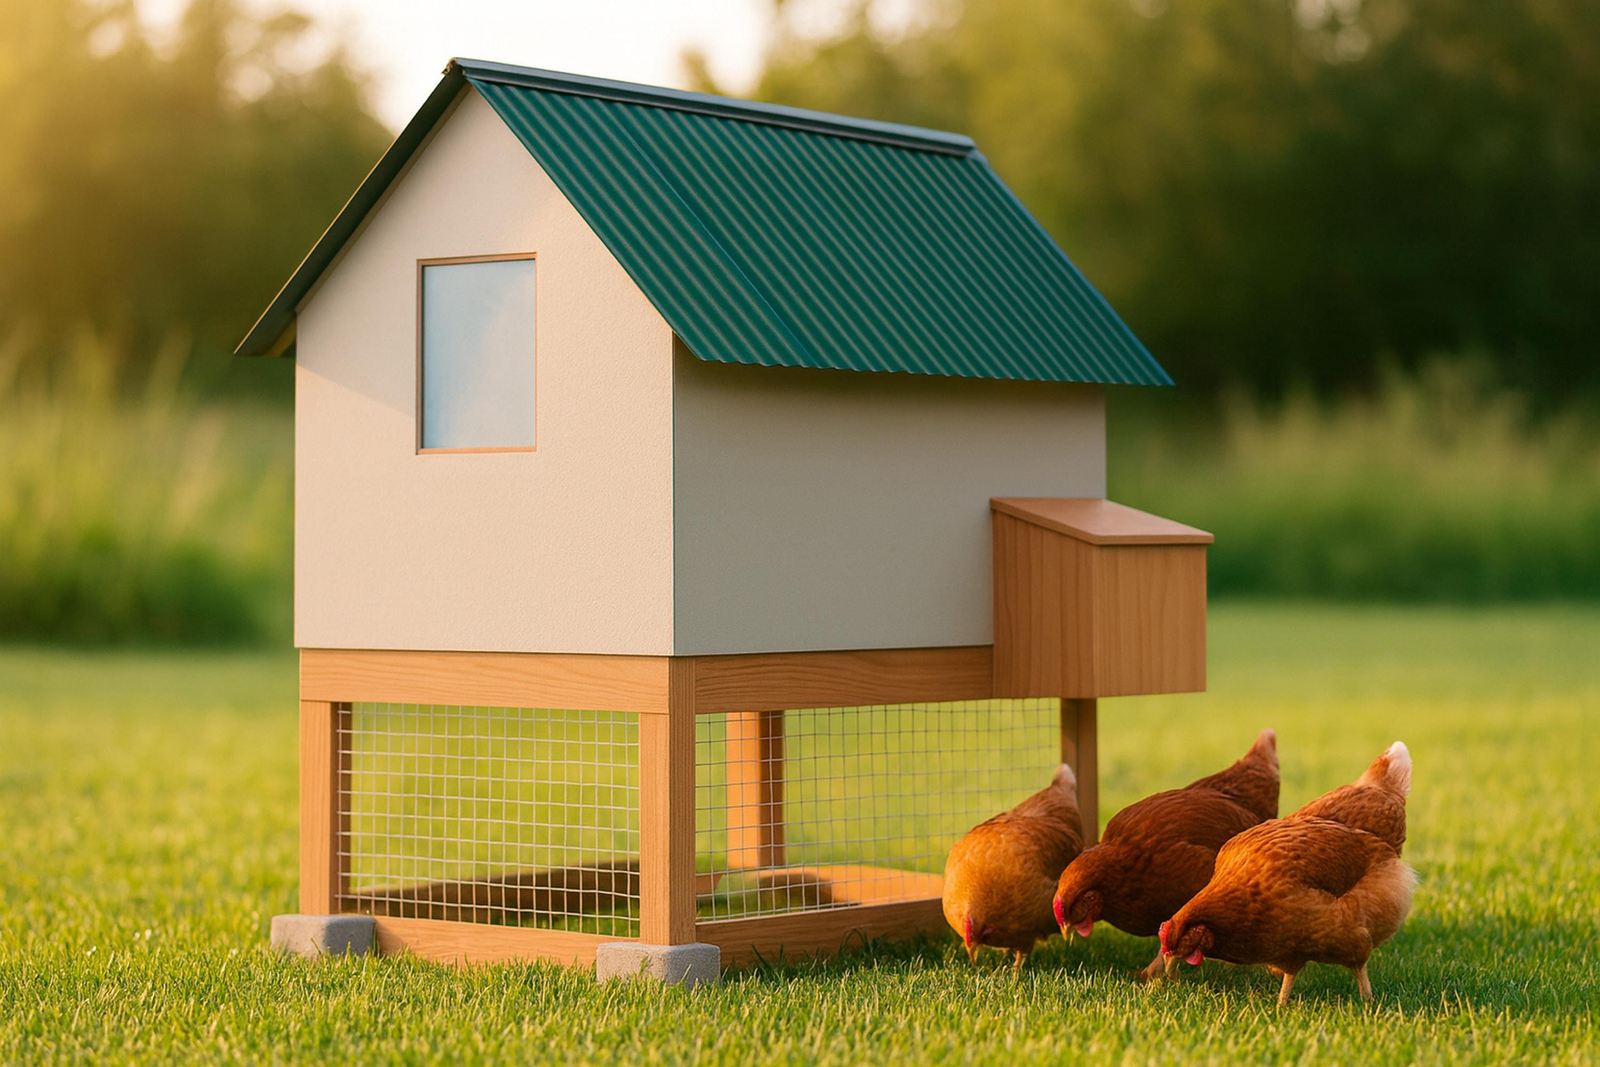
Reach-in coop with a 4×4 screened run. One weekend (10-14 hrs).
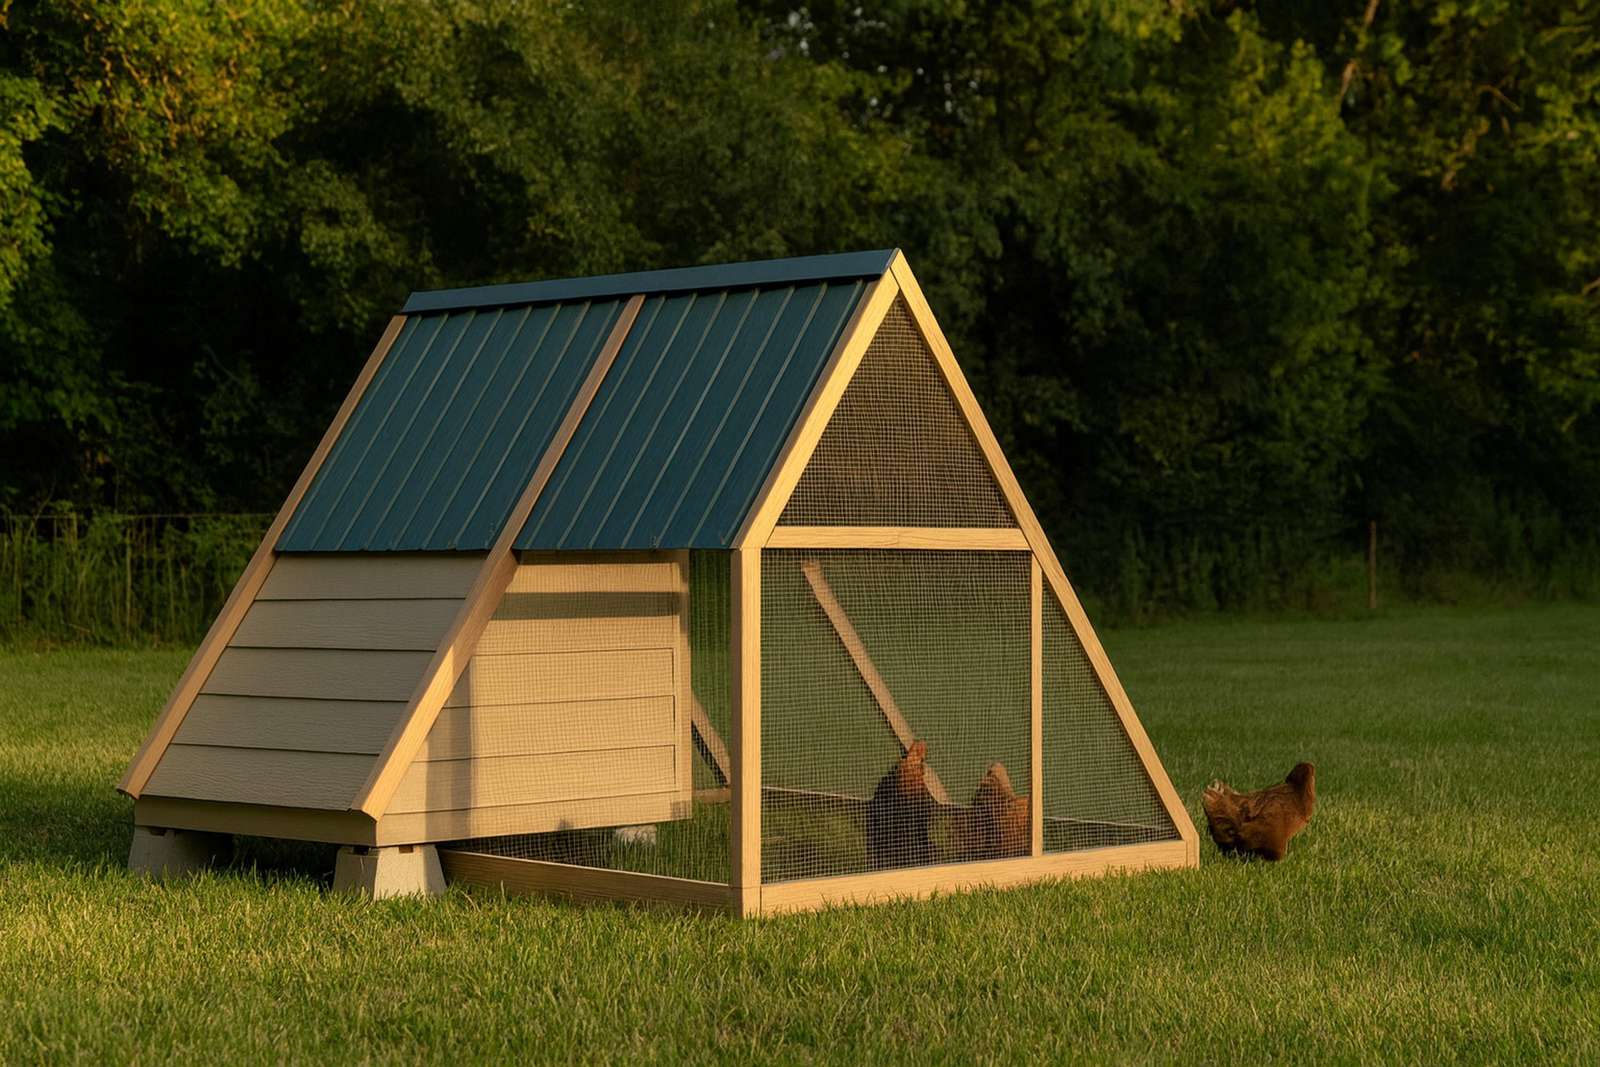
Reach-in coop with a 4×4.416666666666667 screened run. Two weekends (14-20 hrs).

Reach-in coop with a 4×5.416666666666667 screened run. One weekend (12-16 hrs).
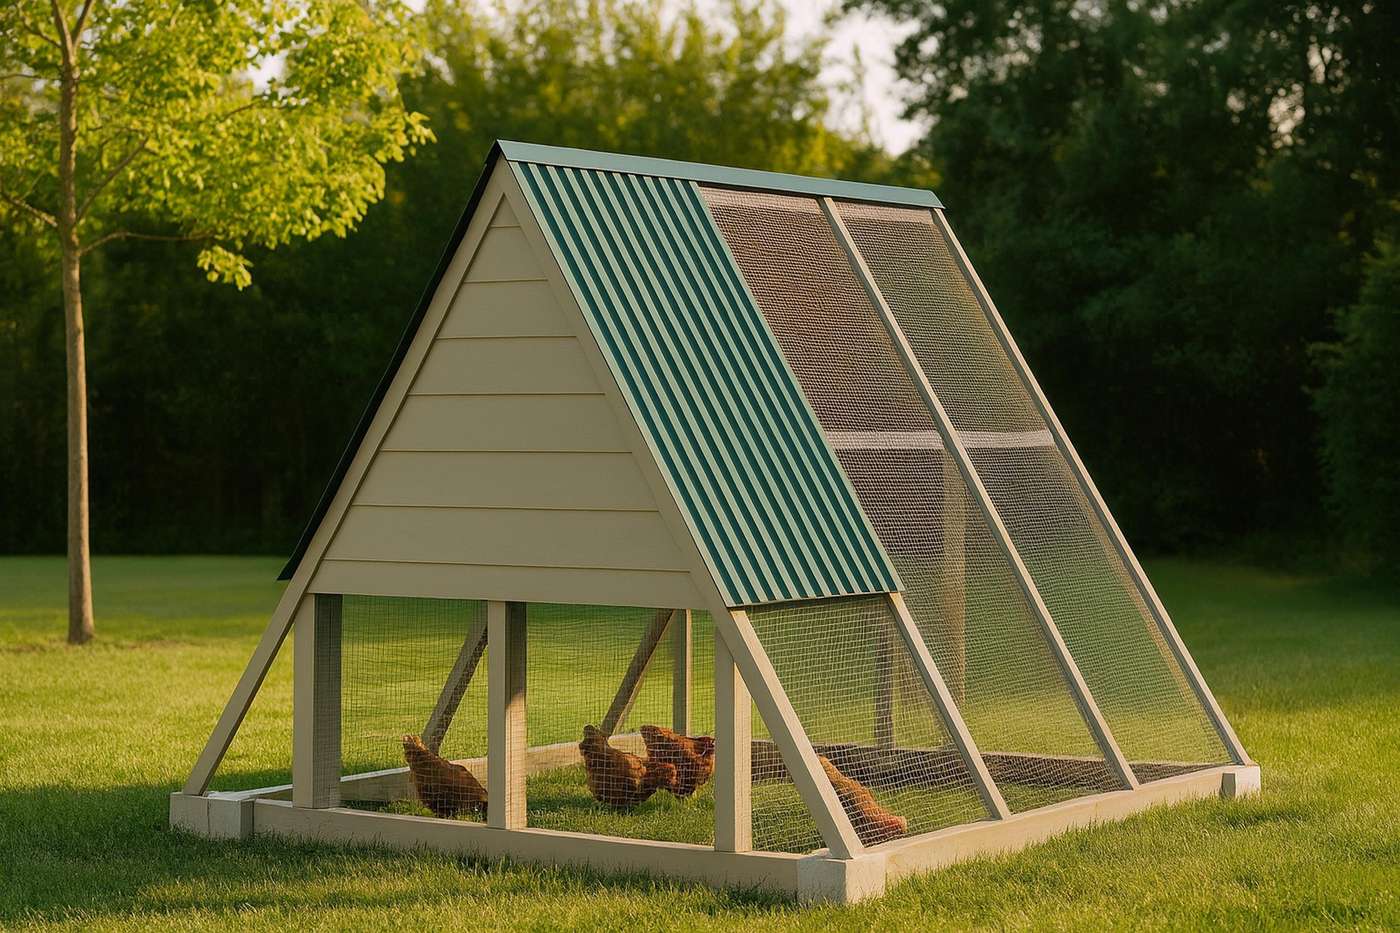
Reach-in coop with a 6×4.541666666666667 screened run. Three weekends (20-28 hrs).
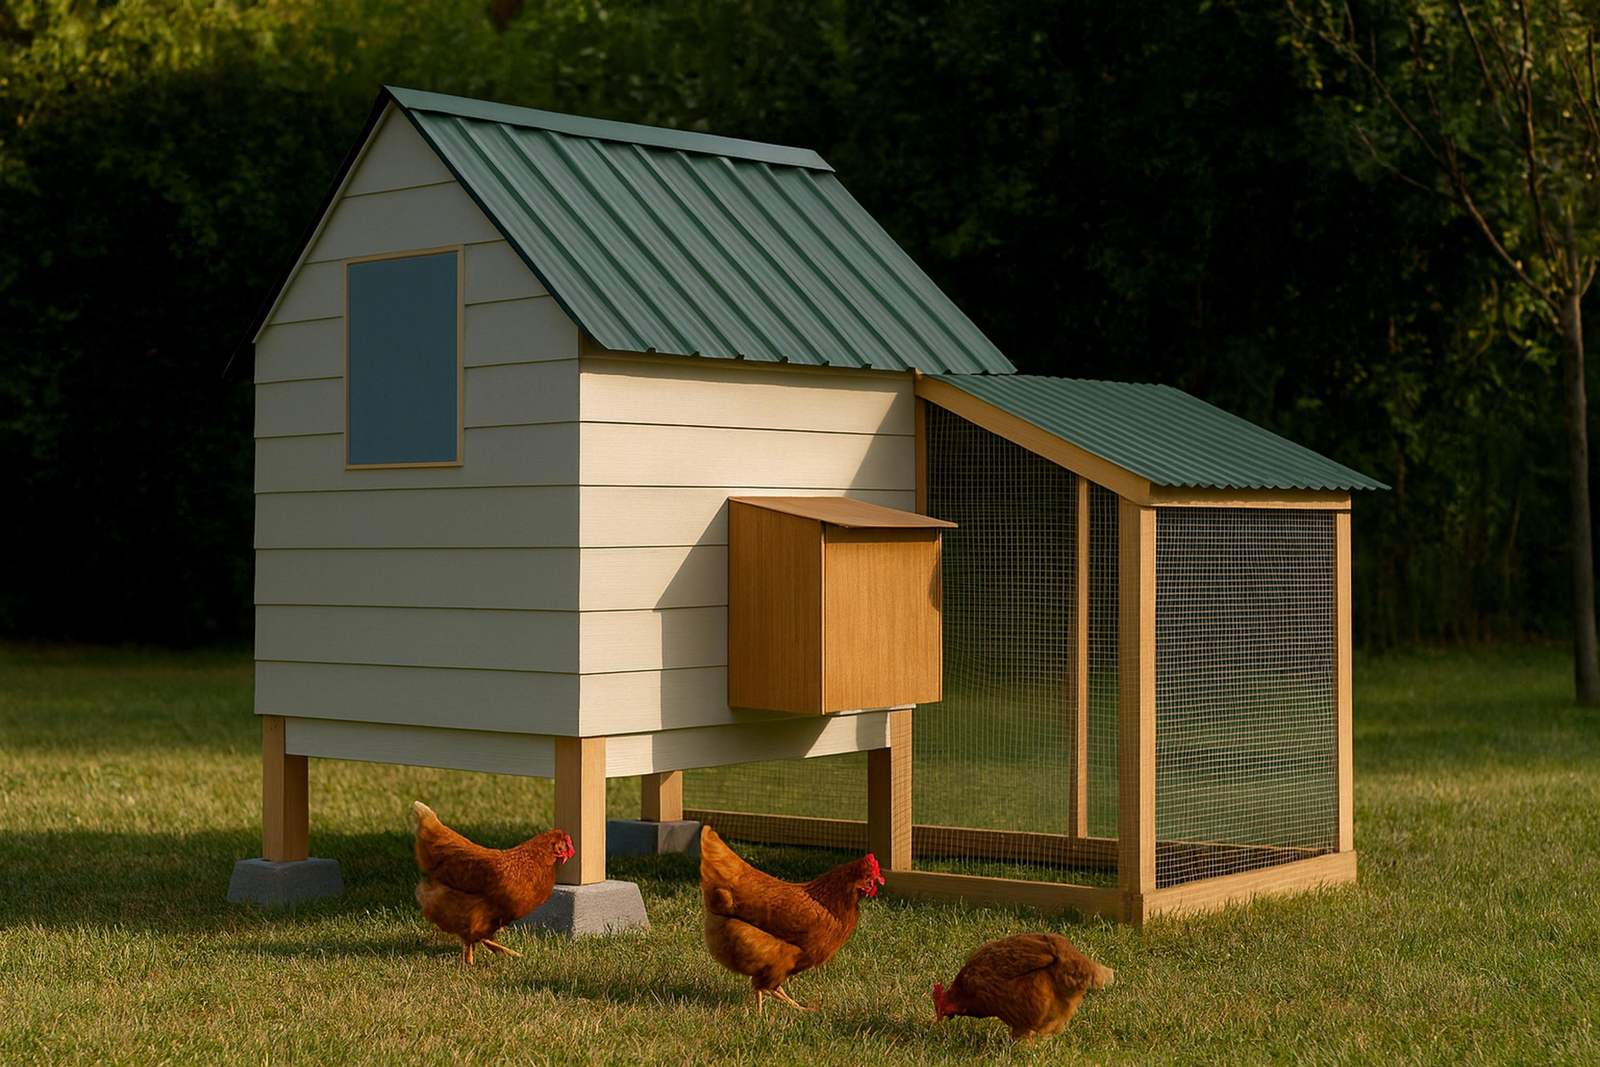
Reach-in coop with a 4×6 screened run. Two weekends (18-26 hrs).
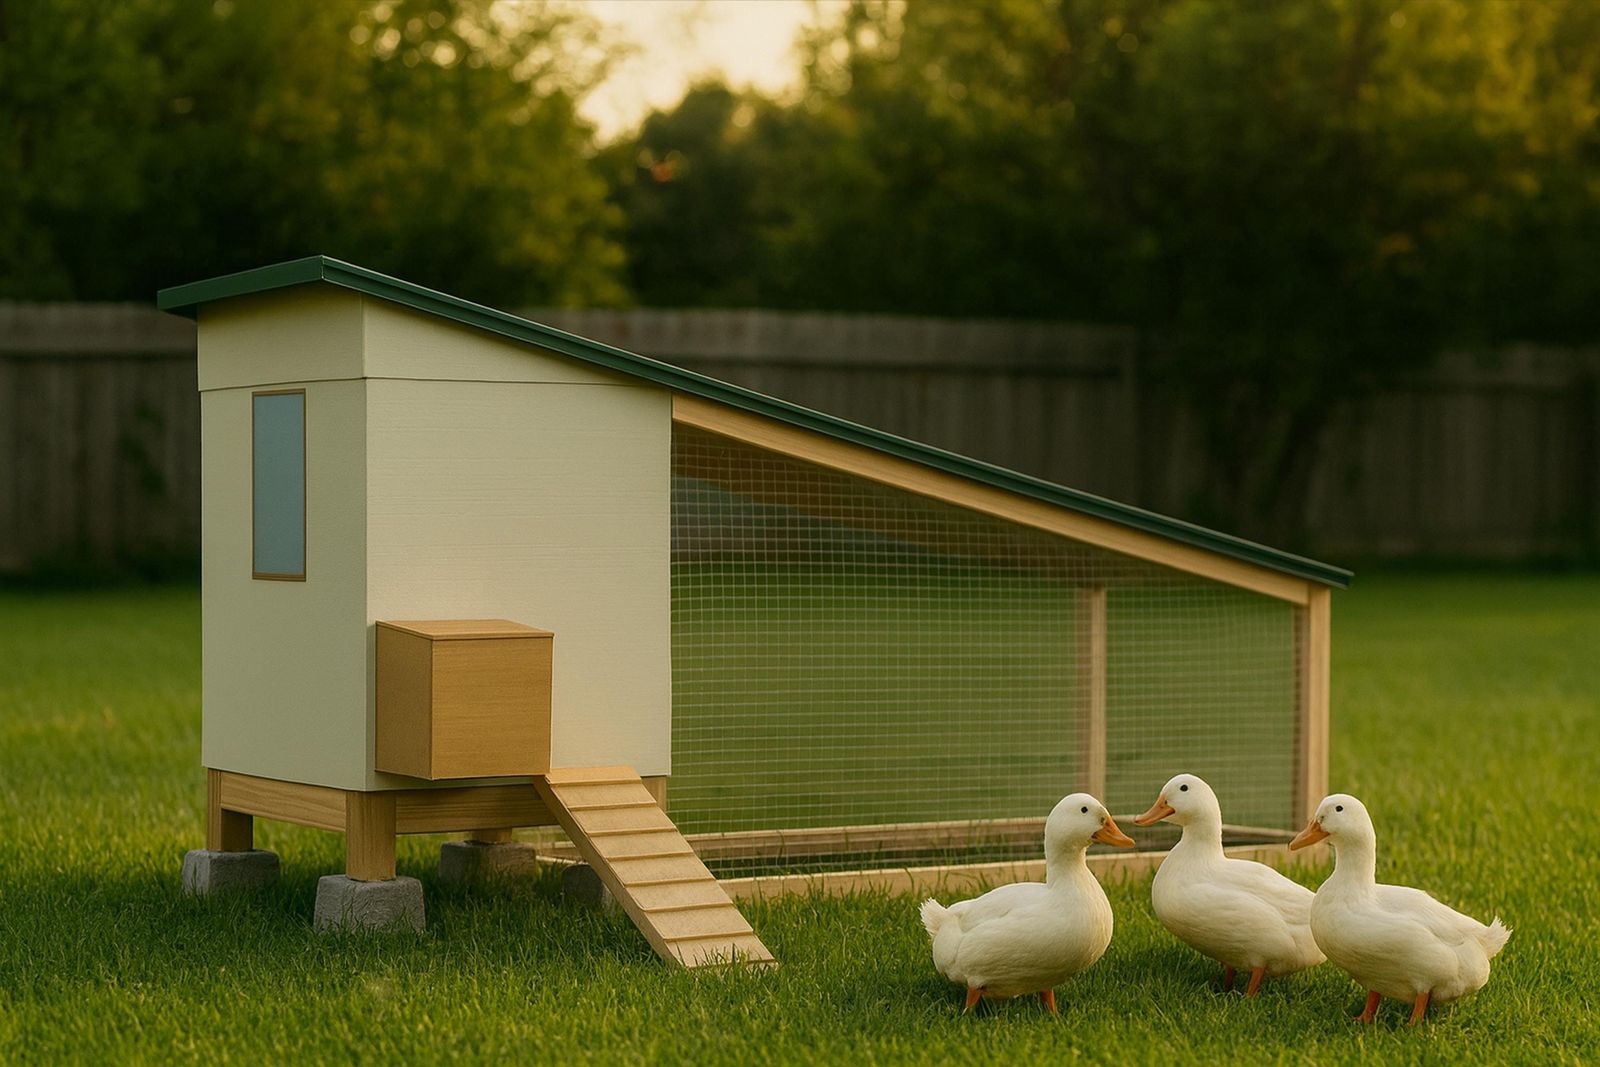
Reach-in coop with a 4×12 screened run. Two weekends (16-24 hrs).
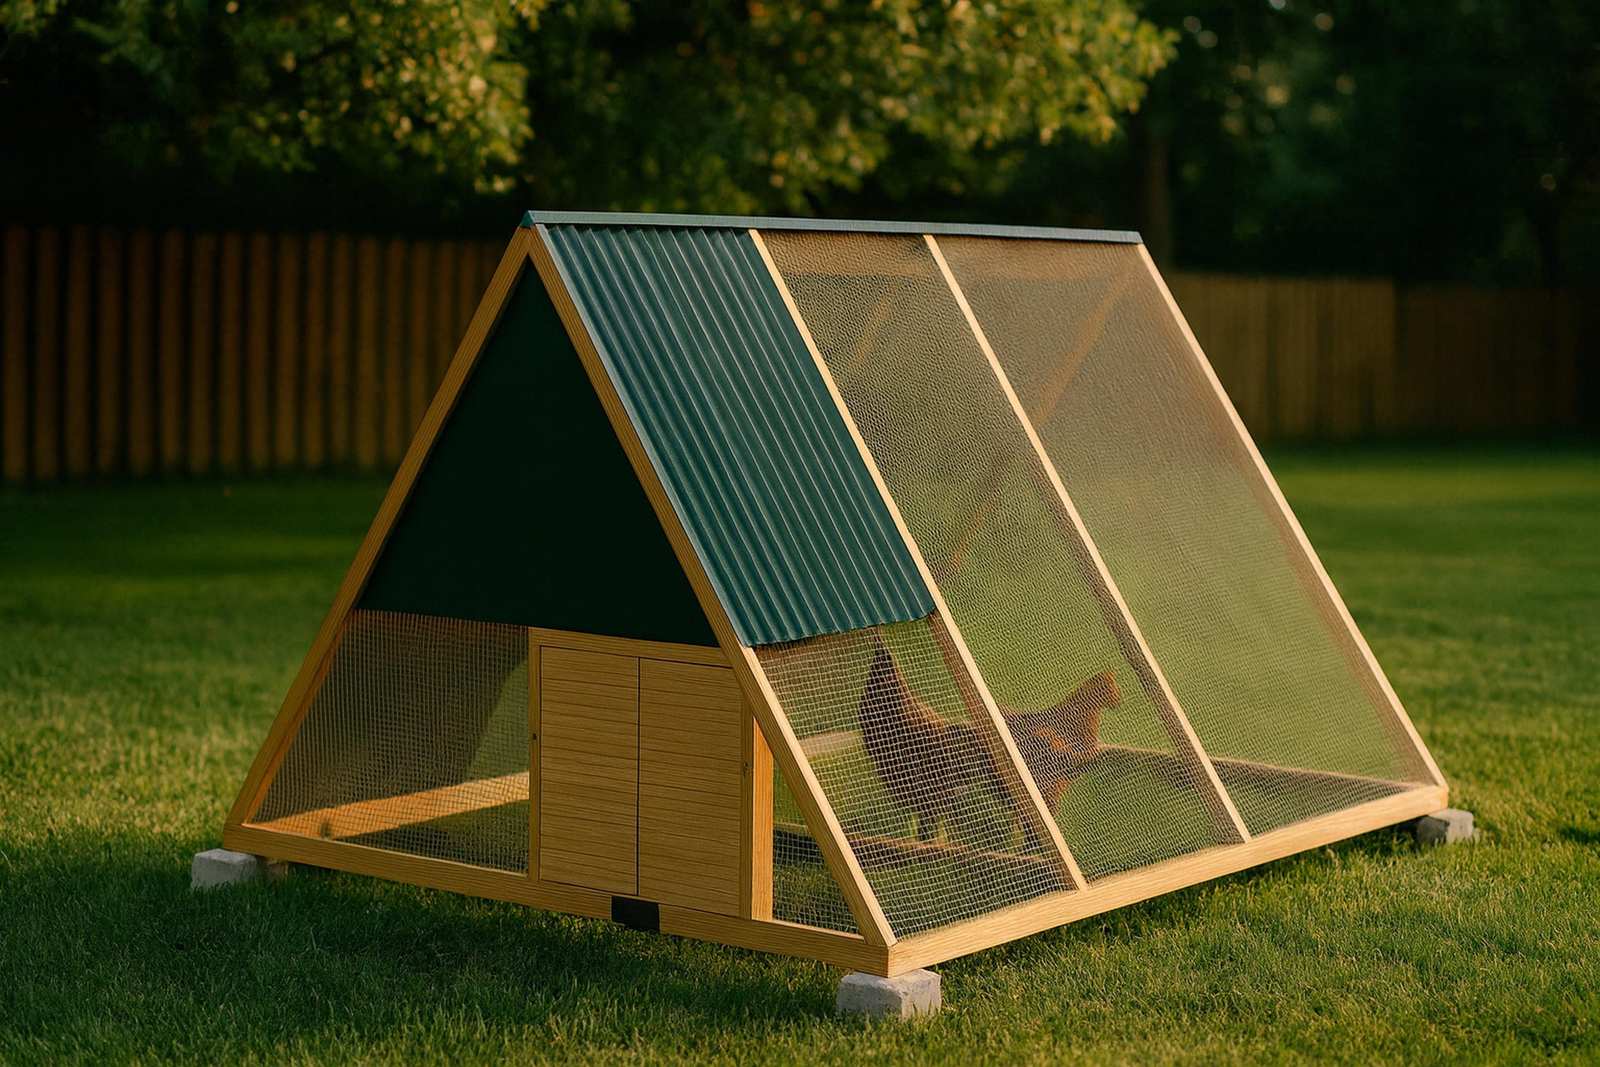
Reach-in coop with a 6×5.916666666666667 screened run. Three weekends (22-30 hrs).
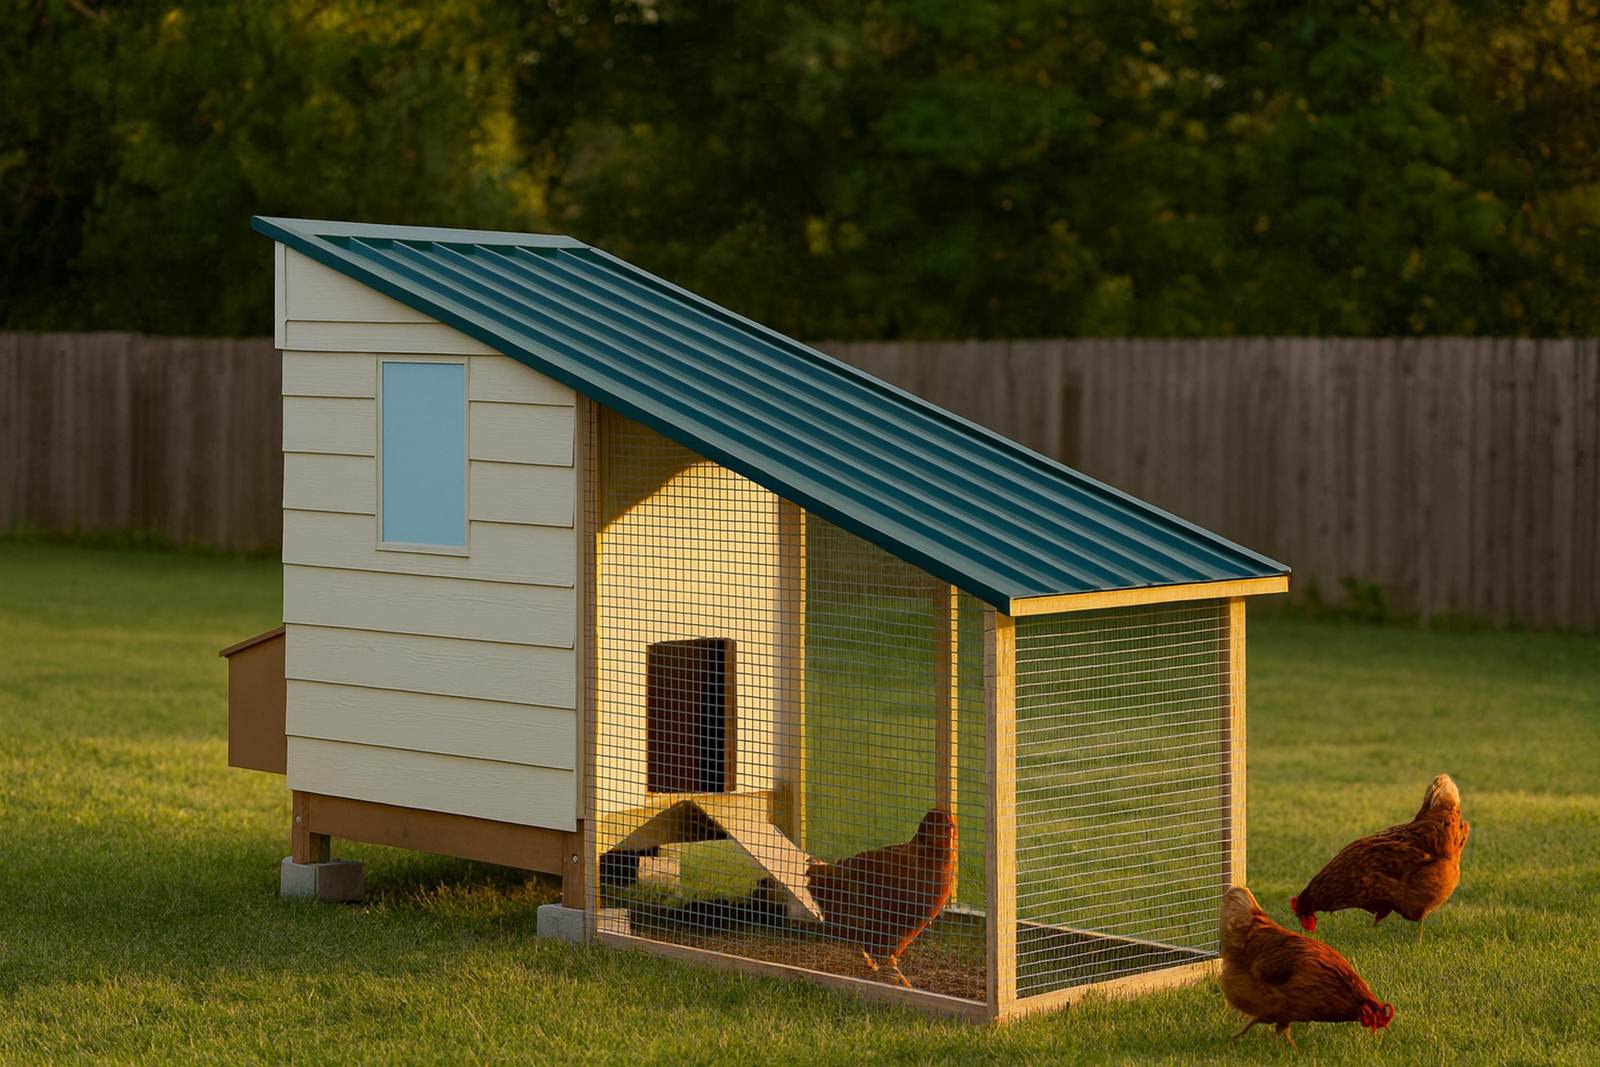
Reach-in coop with a 4×8 screened run. Two weekends (16-24 hrs).
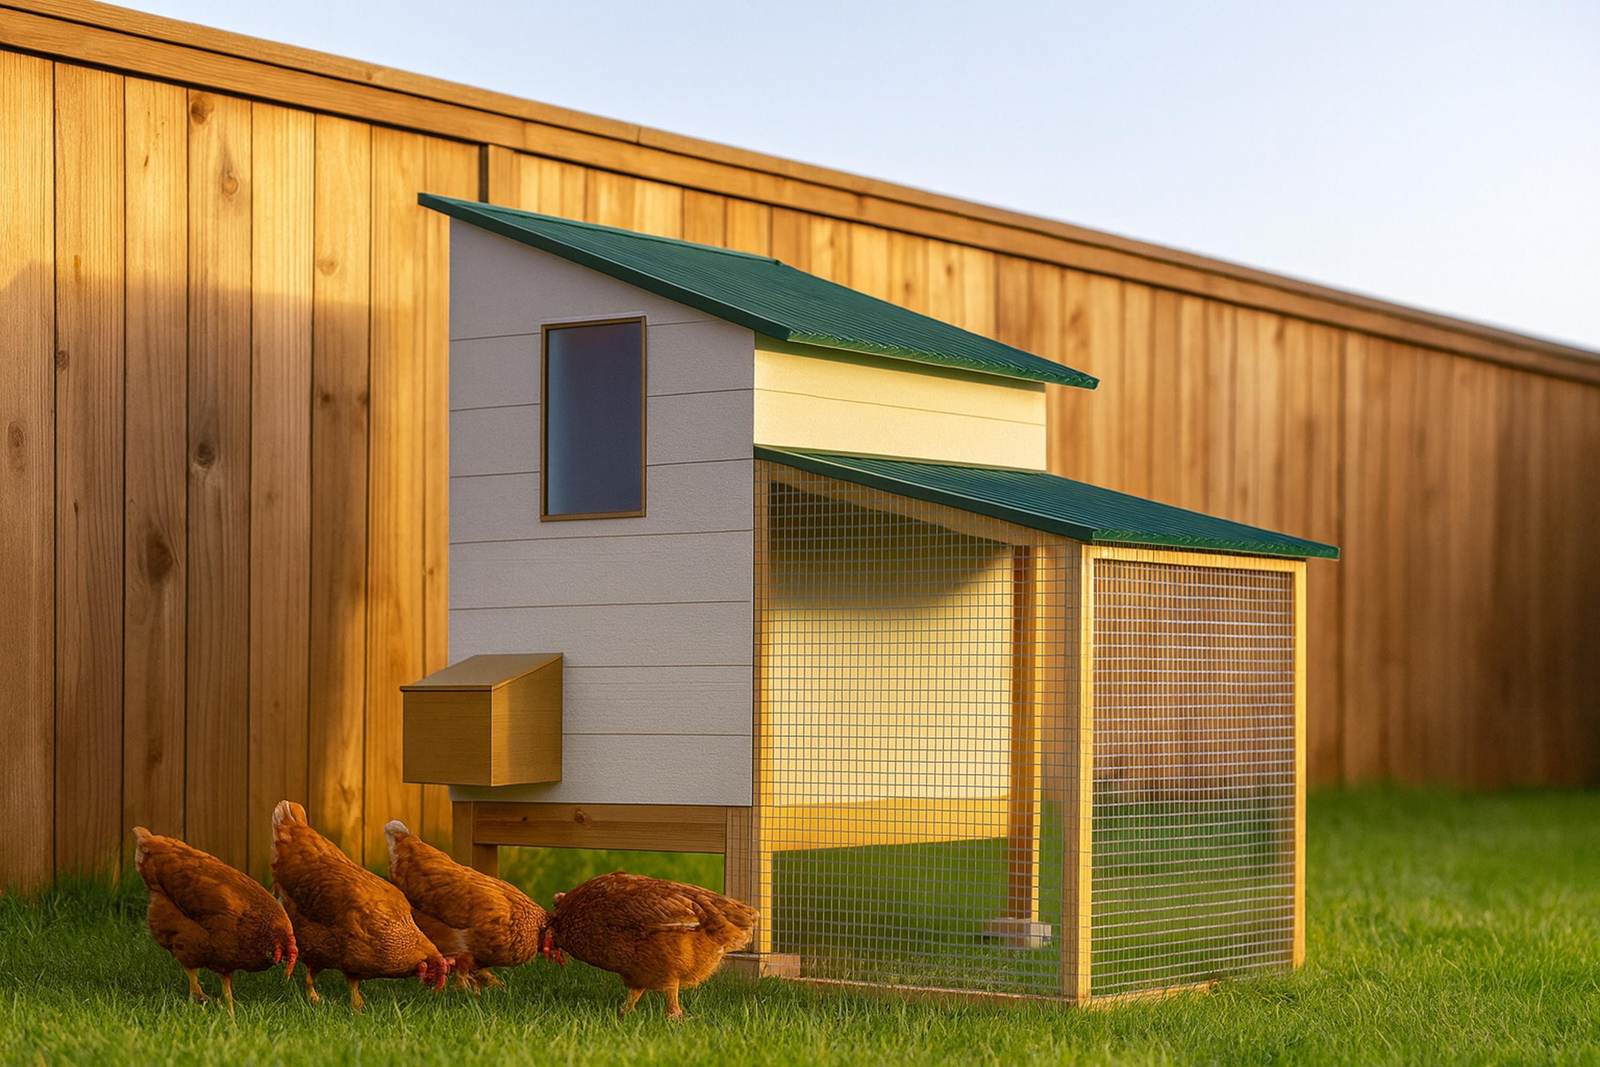
Reach-in coop with a 4×8 screened run. One to two weekends (12-18 hrs).
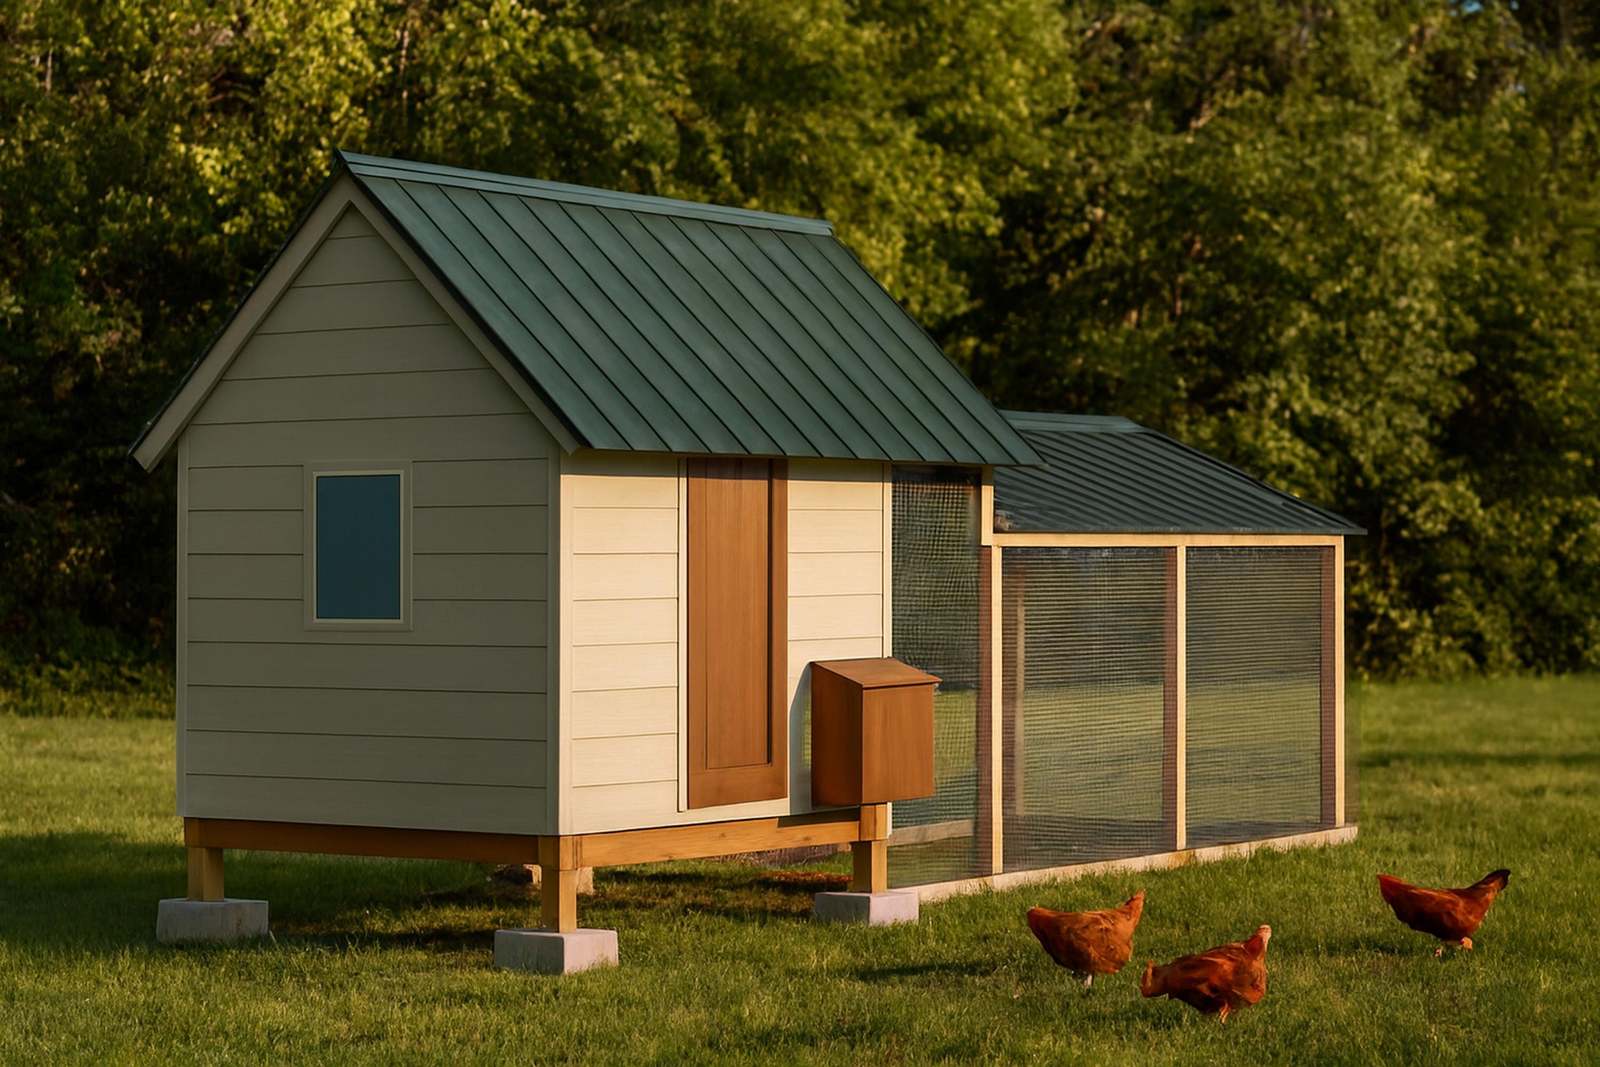
Reach-in coop with a 6×8 screened run. Three to four days (26-34 hrs).
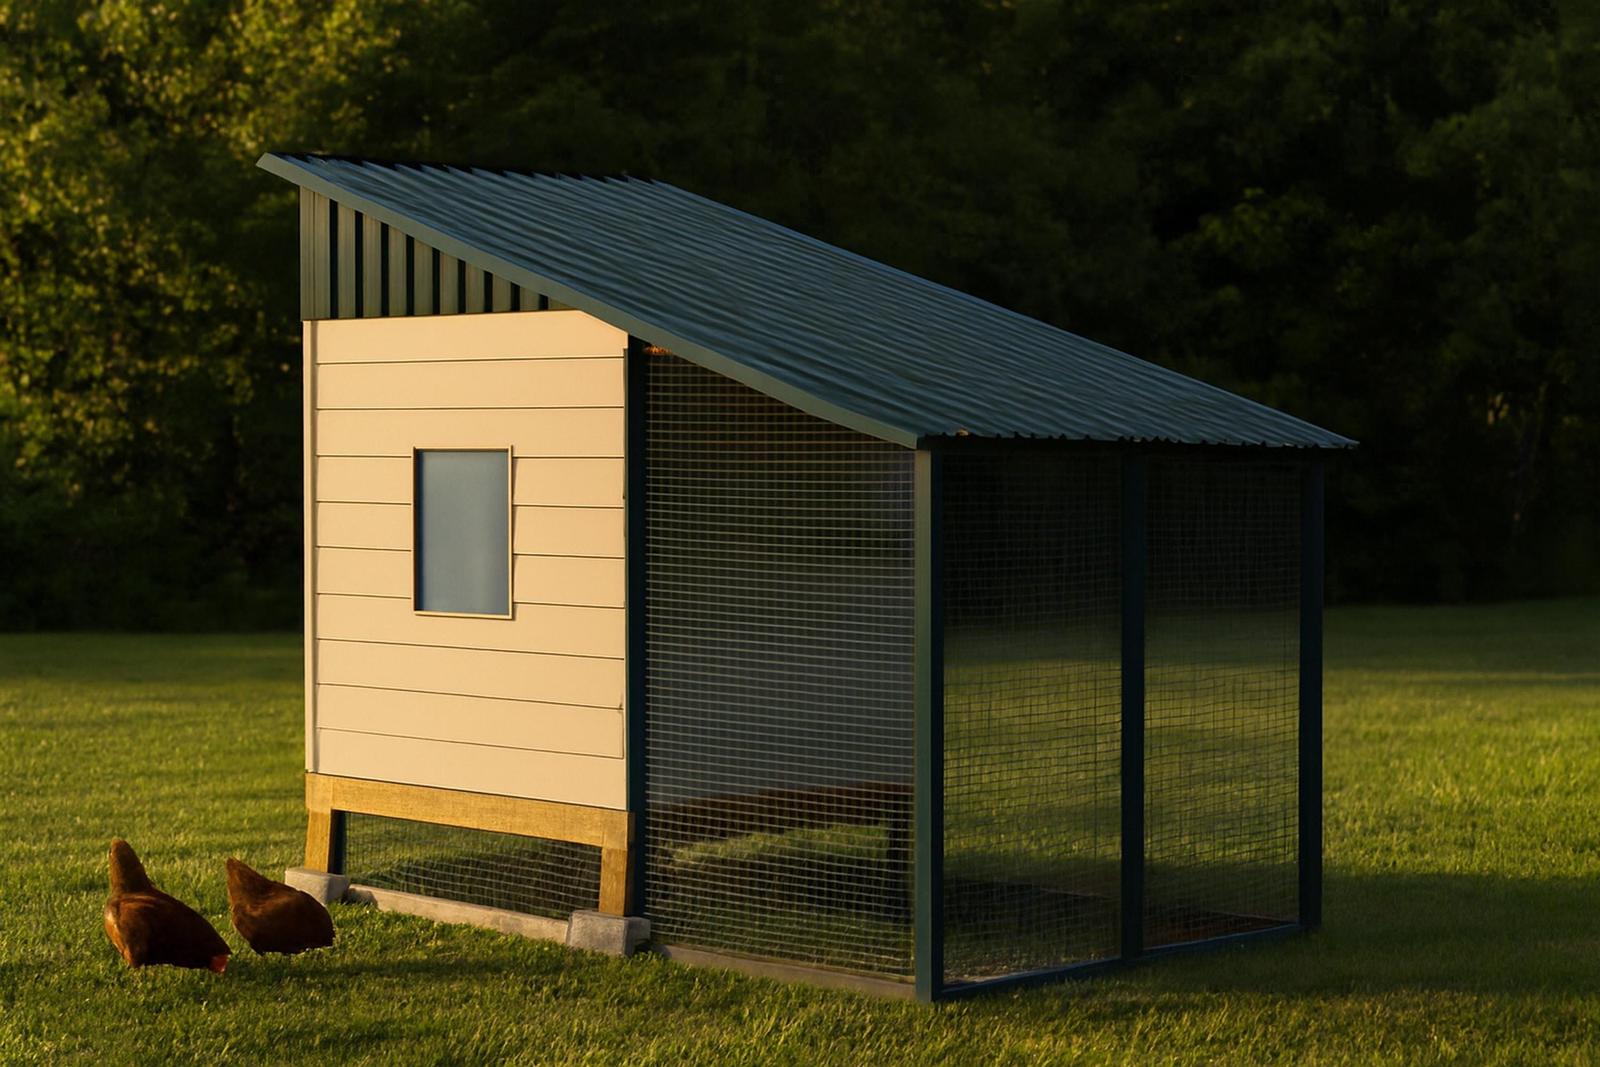
Reach-in coop with a 6×10 screened run. Four to five days (30-38 hrs).
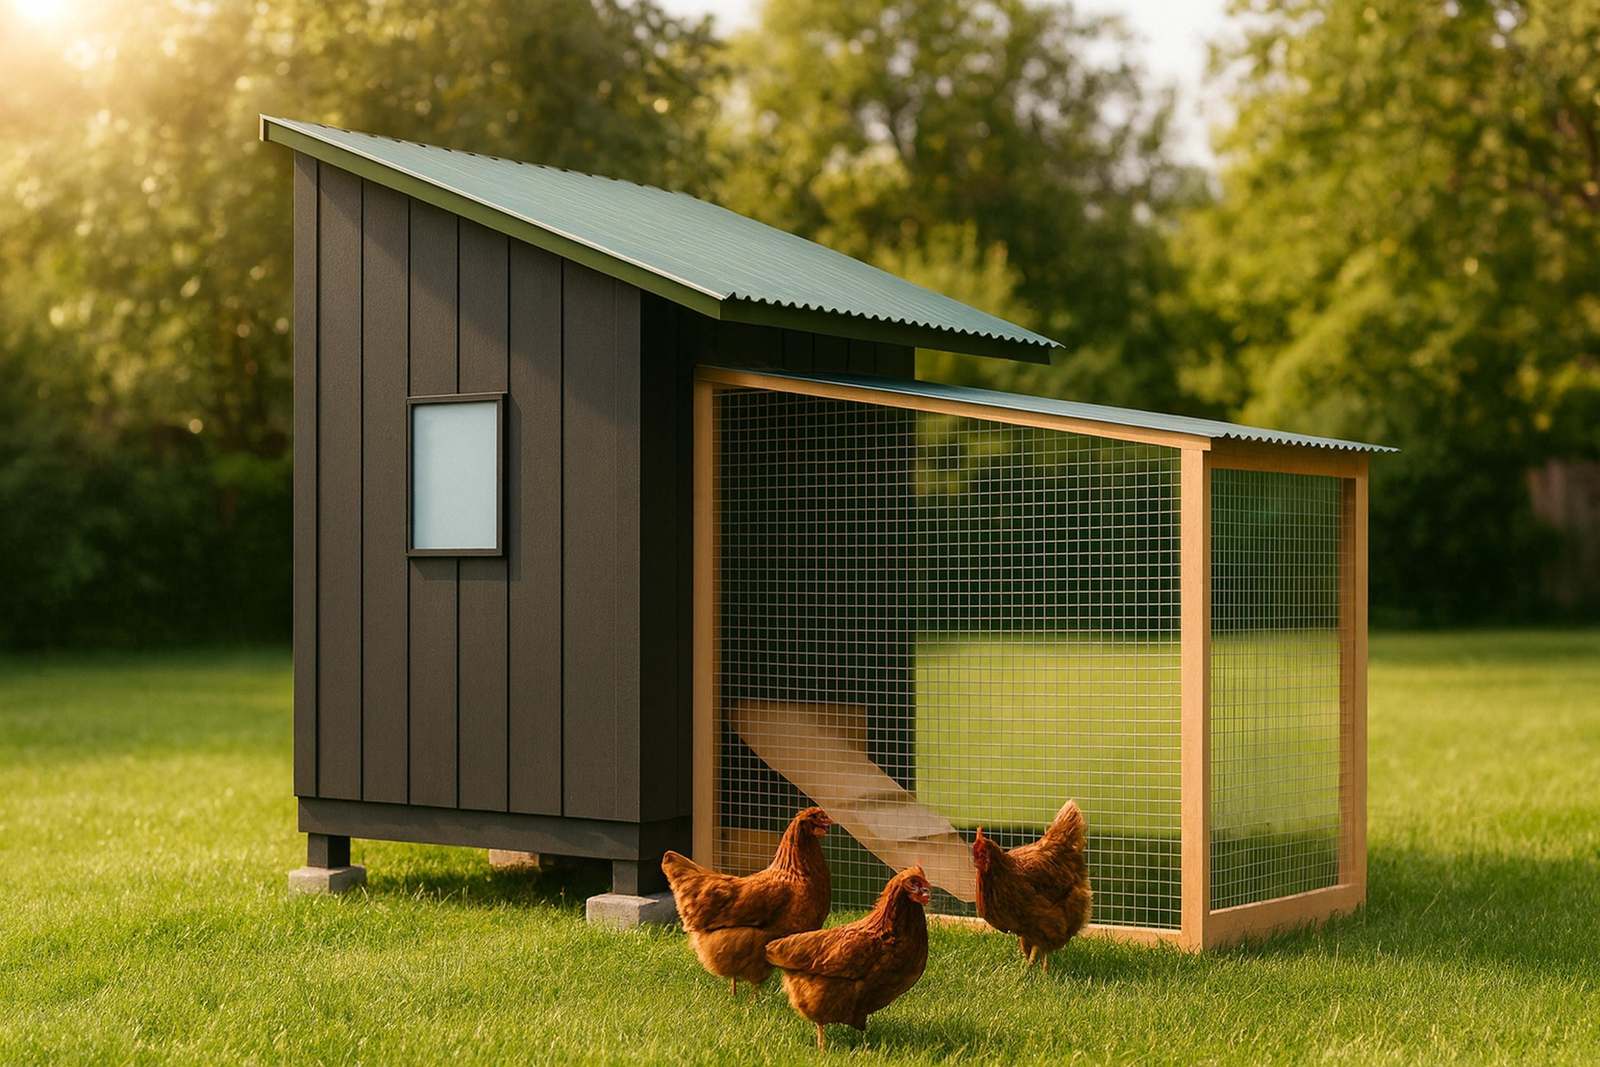
Reach-in coop with a 6×10 screened run. Five to seven days (40-52 hrs).
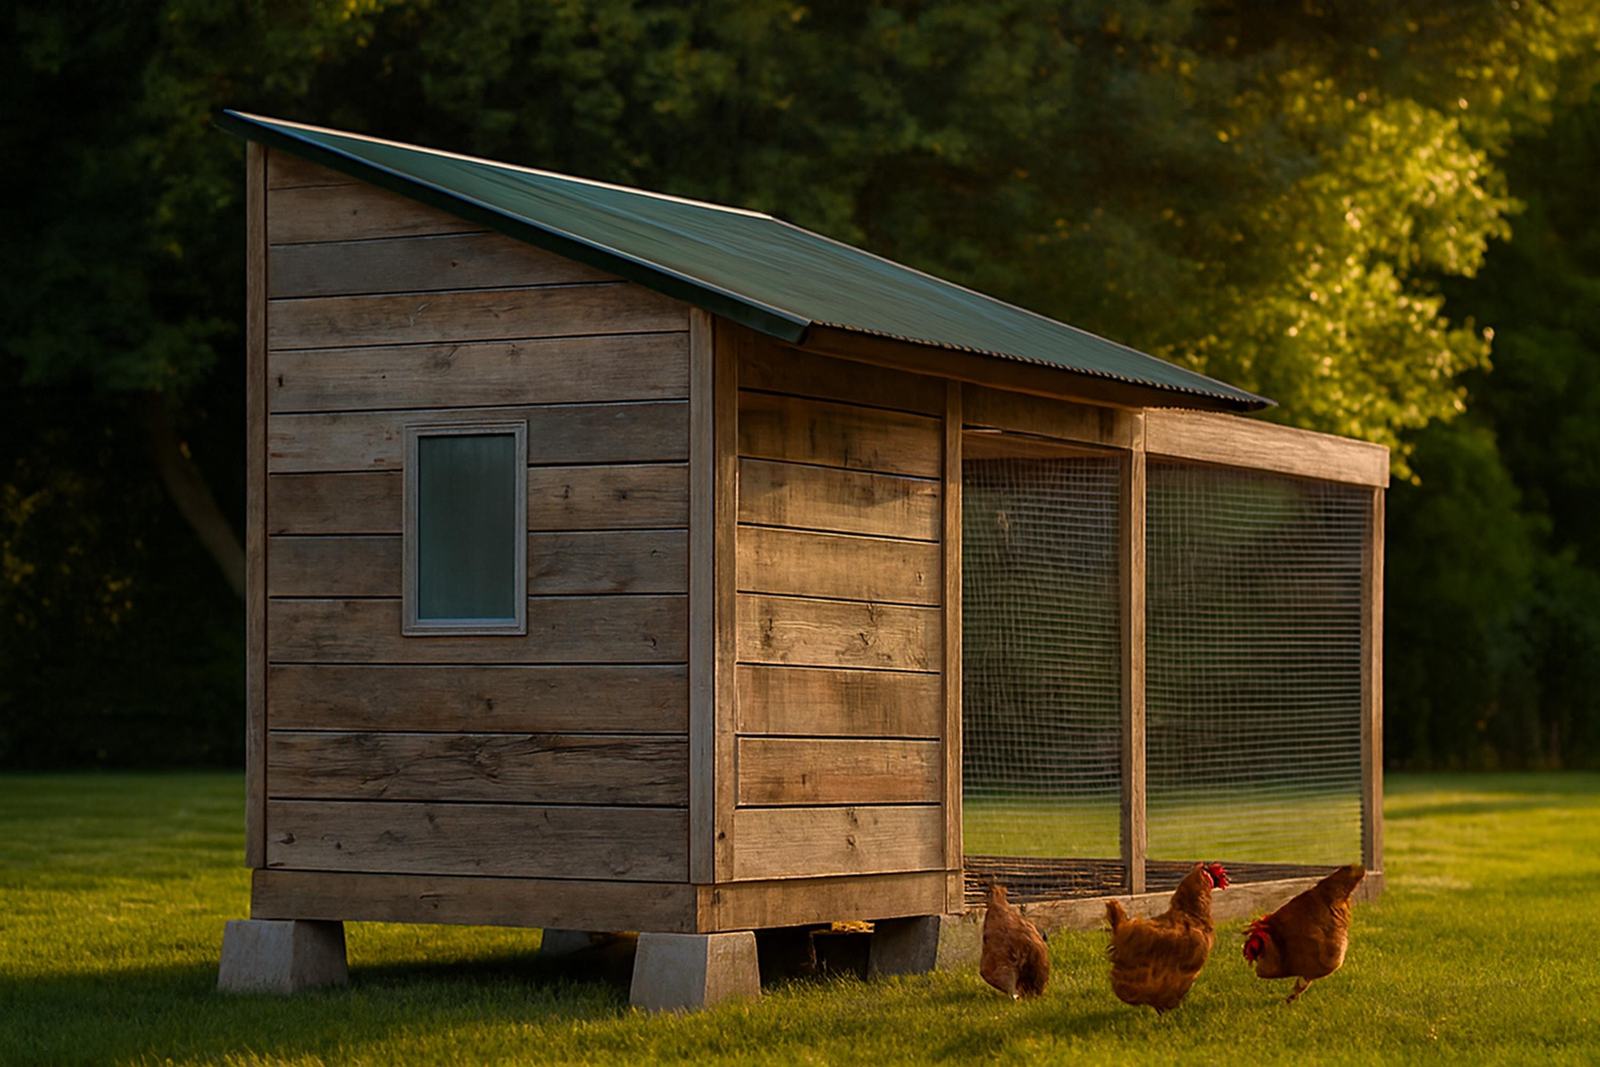
Reach-in coop with a 6×10 screened run. Five to seven days (38-50 hrs), plus about 10 hrs stripping pallets.
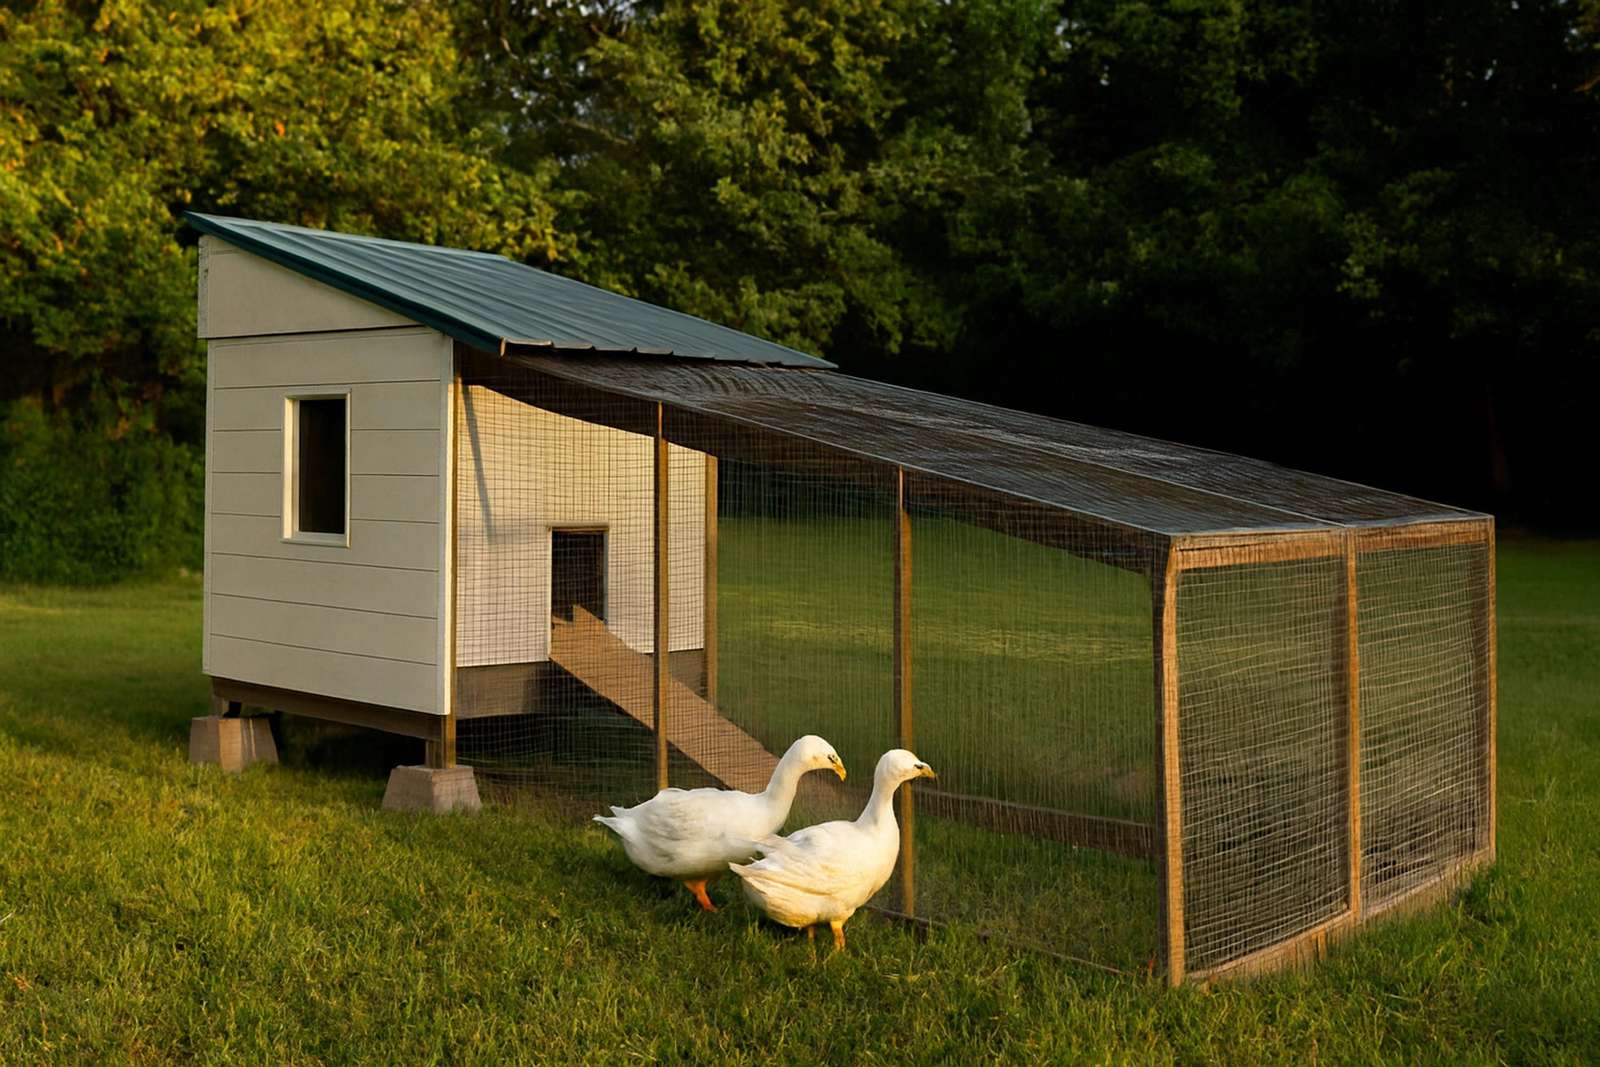
Reach-in coop with a 6×16 screened run. Four to five days (30-38 hrs).
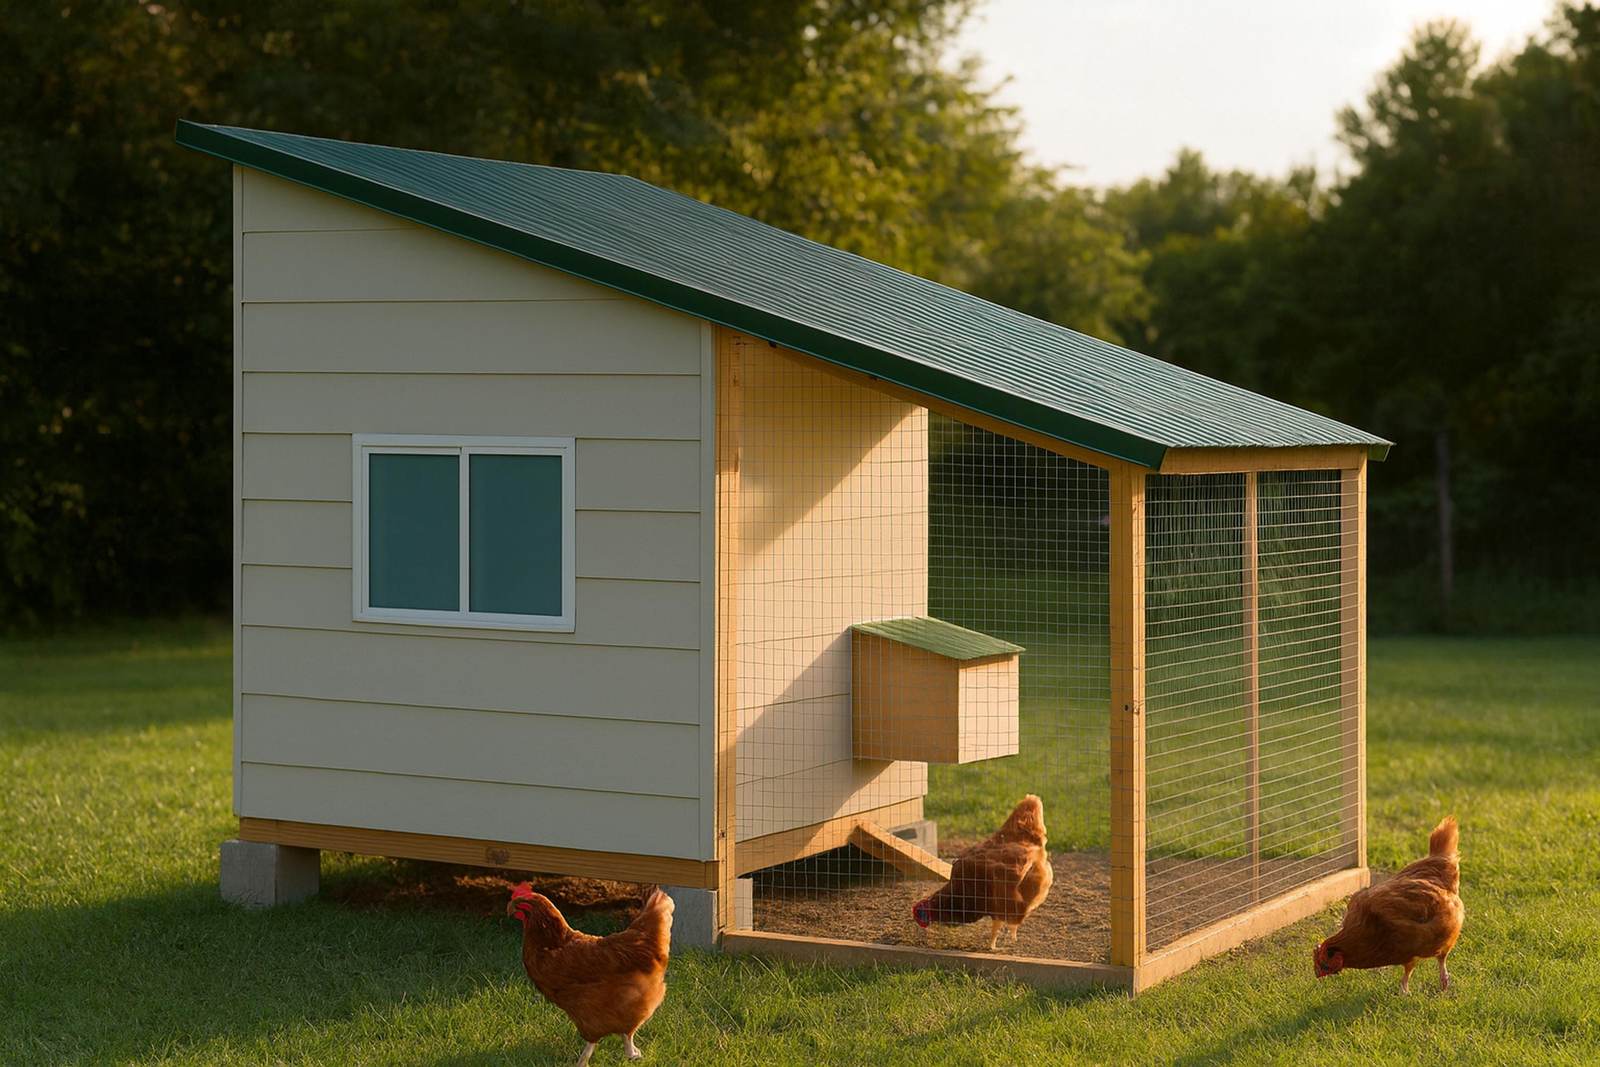
Reach-in coop with a 6×12 screened run. Five to six days (36-44 hrs).
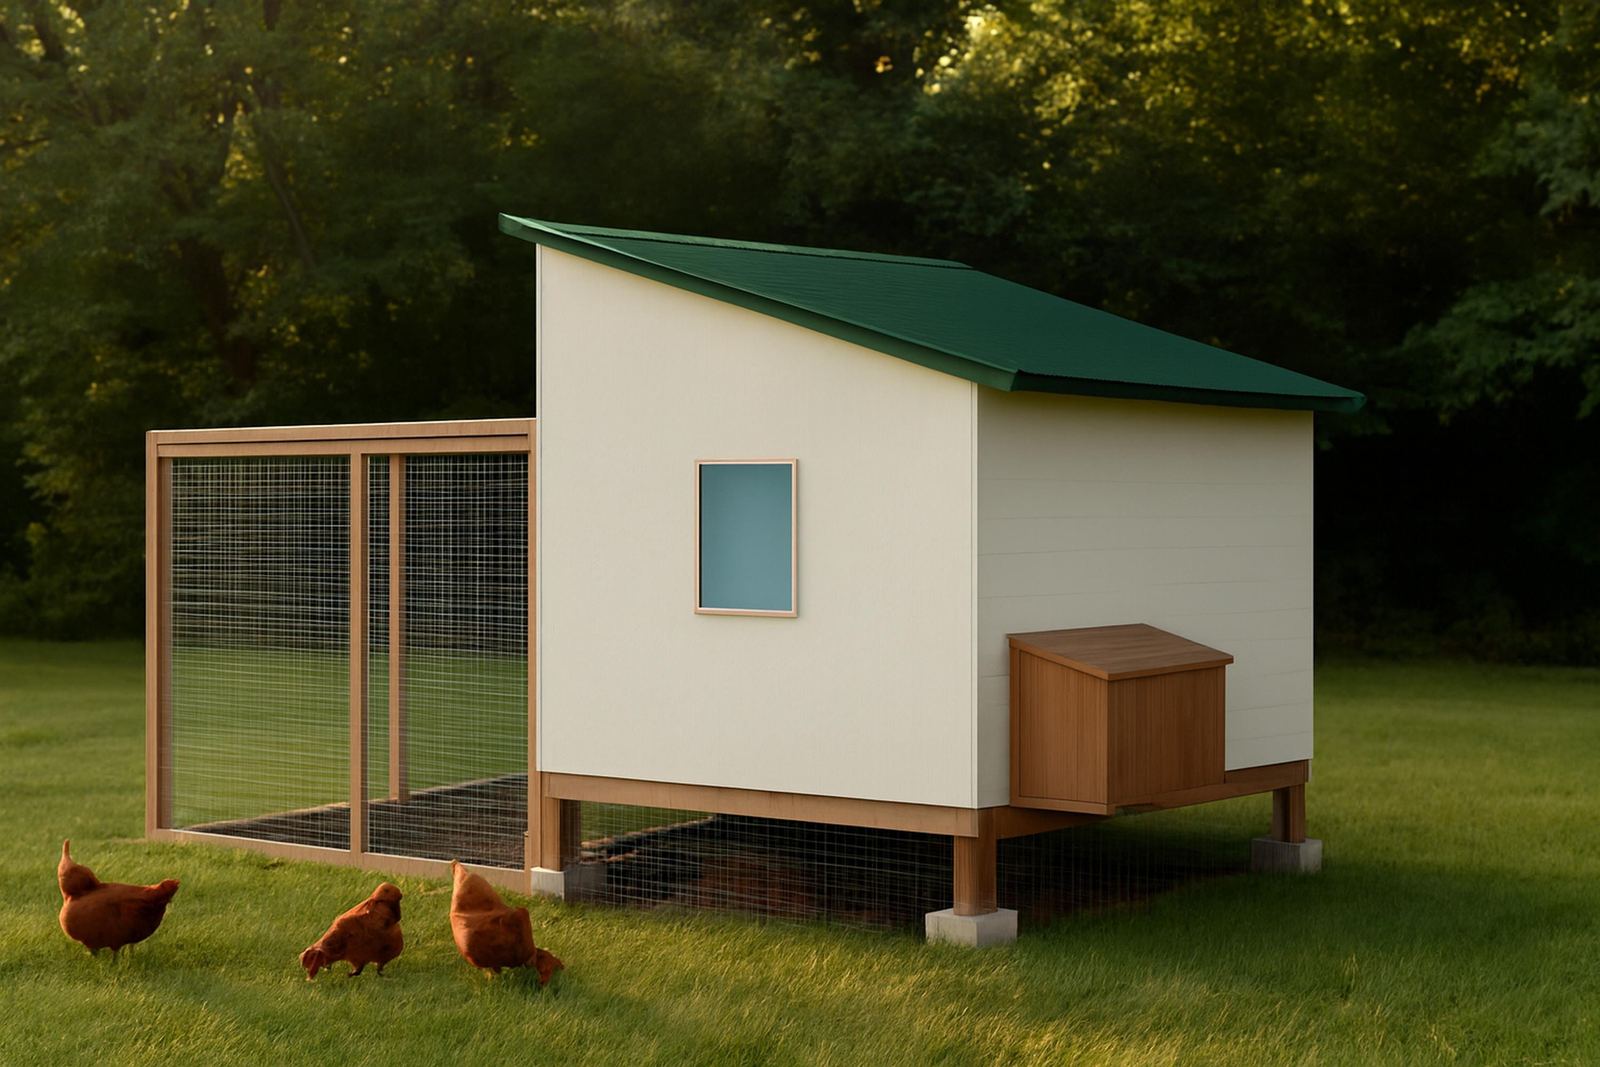
Walk-in coop with a 8×10 screened run. Five to seven days (40-52 hrs).
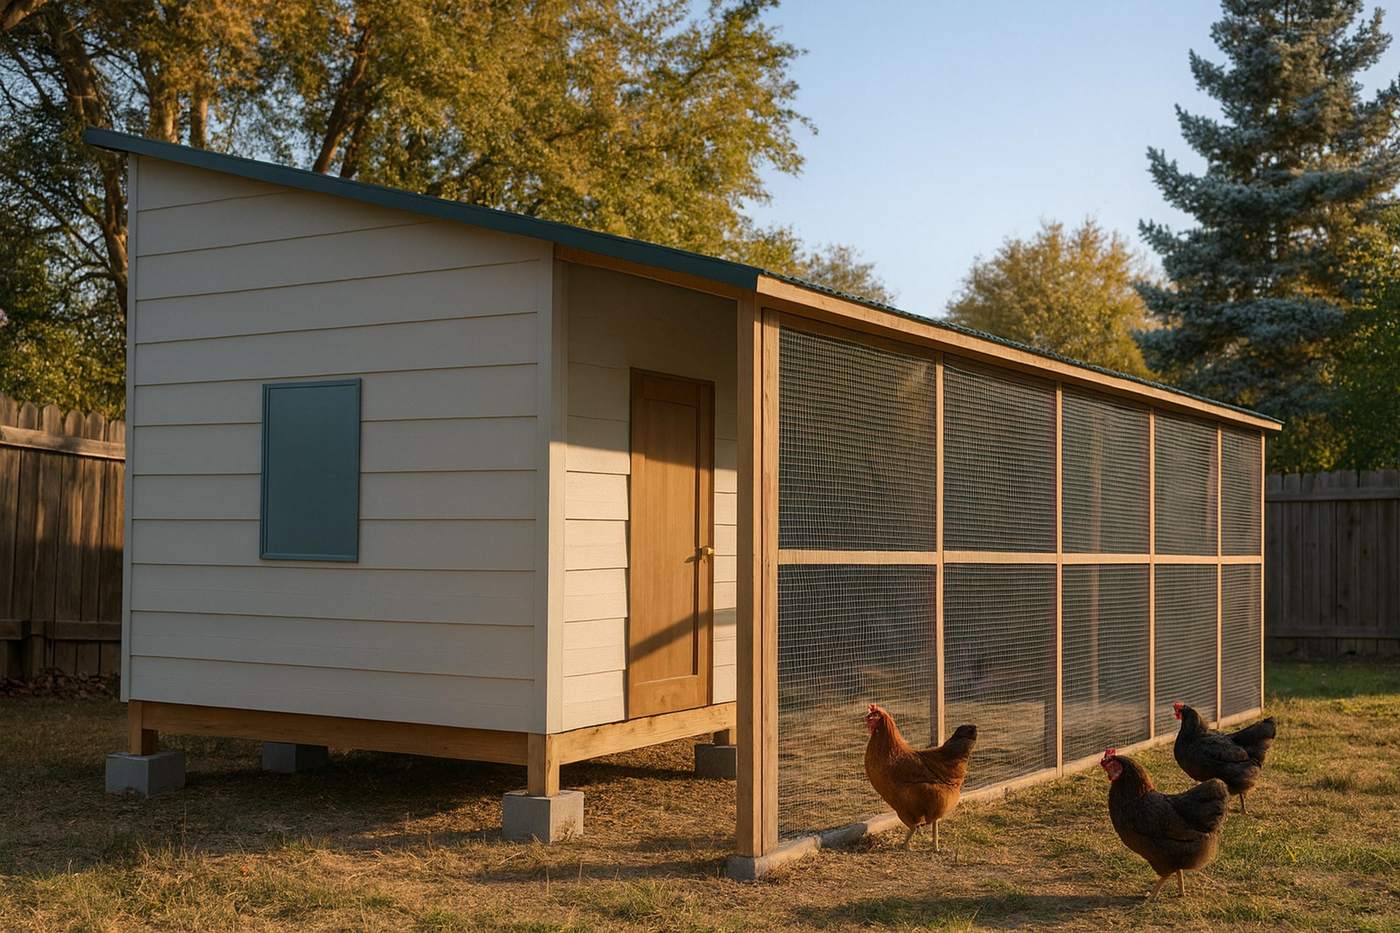
Walk-in coop with a 8×16 screened run. Eight to ten days (60-75 hrs).
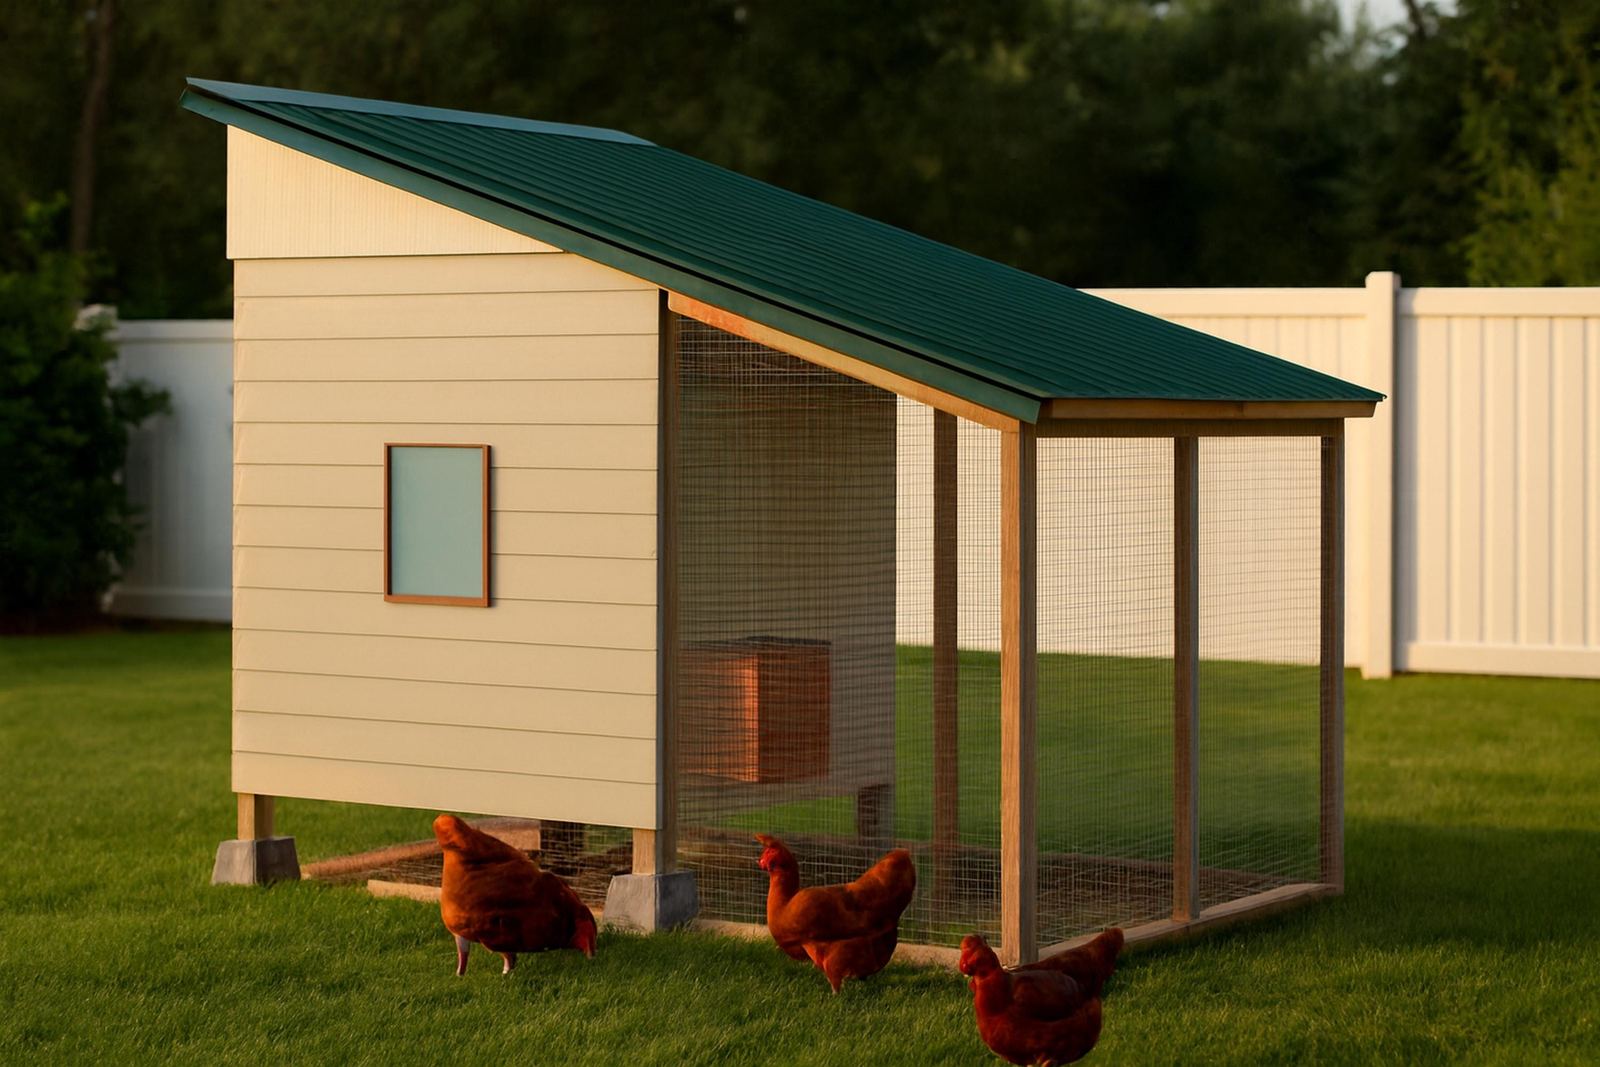
Walk-in coop with a 8×16 screened run. Ten to thirteen days (78-98 hrs).
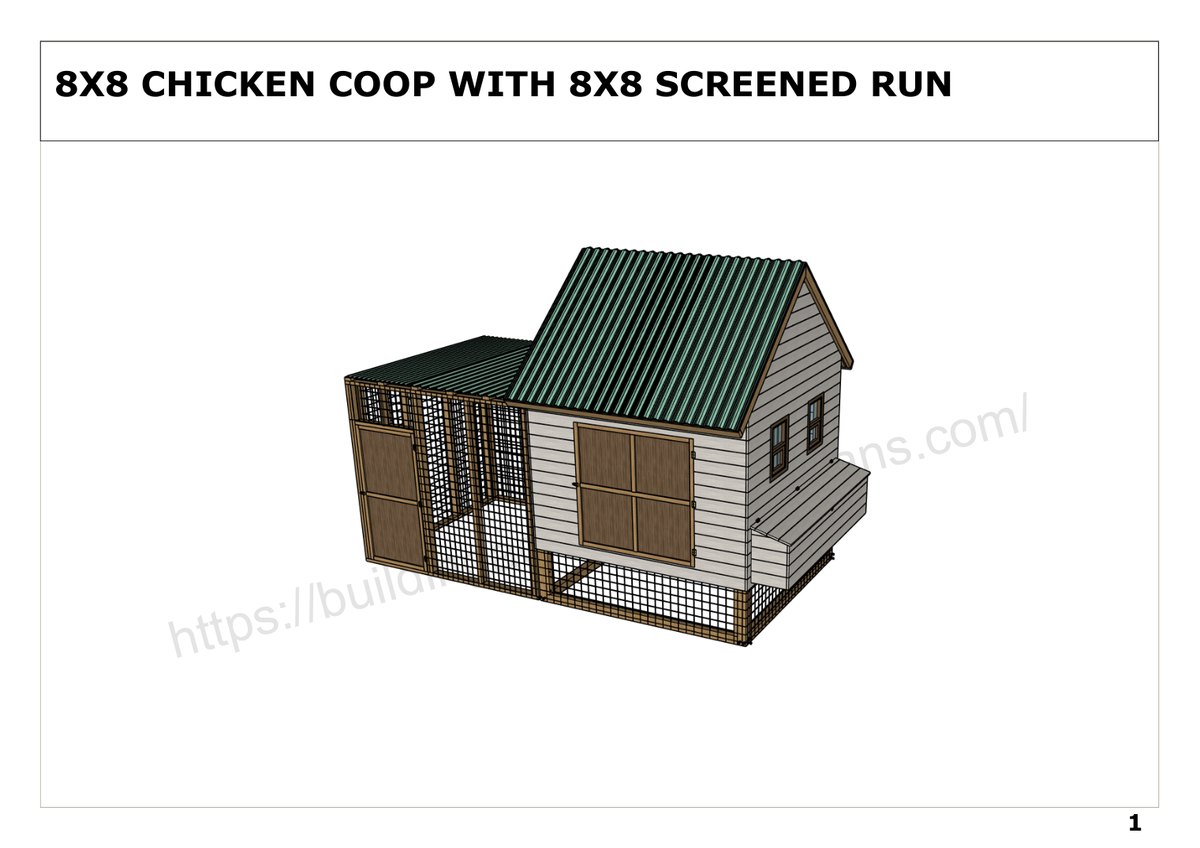
Our original CAD-drawn set and the most detailed plan on the site: 80 pages, 16 assembly steps, exterior nest bank.
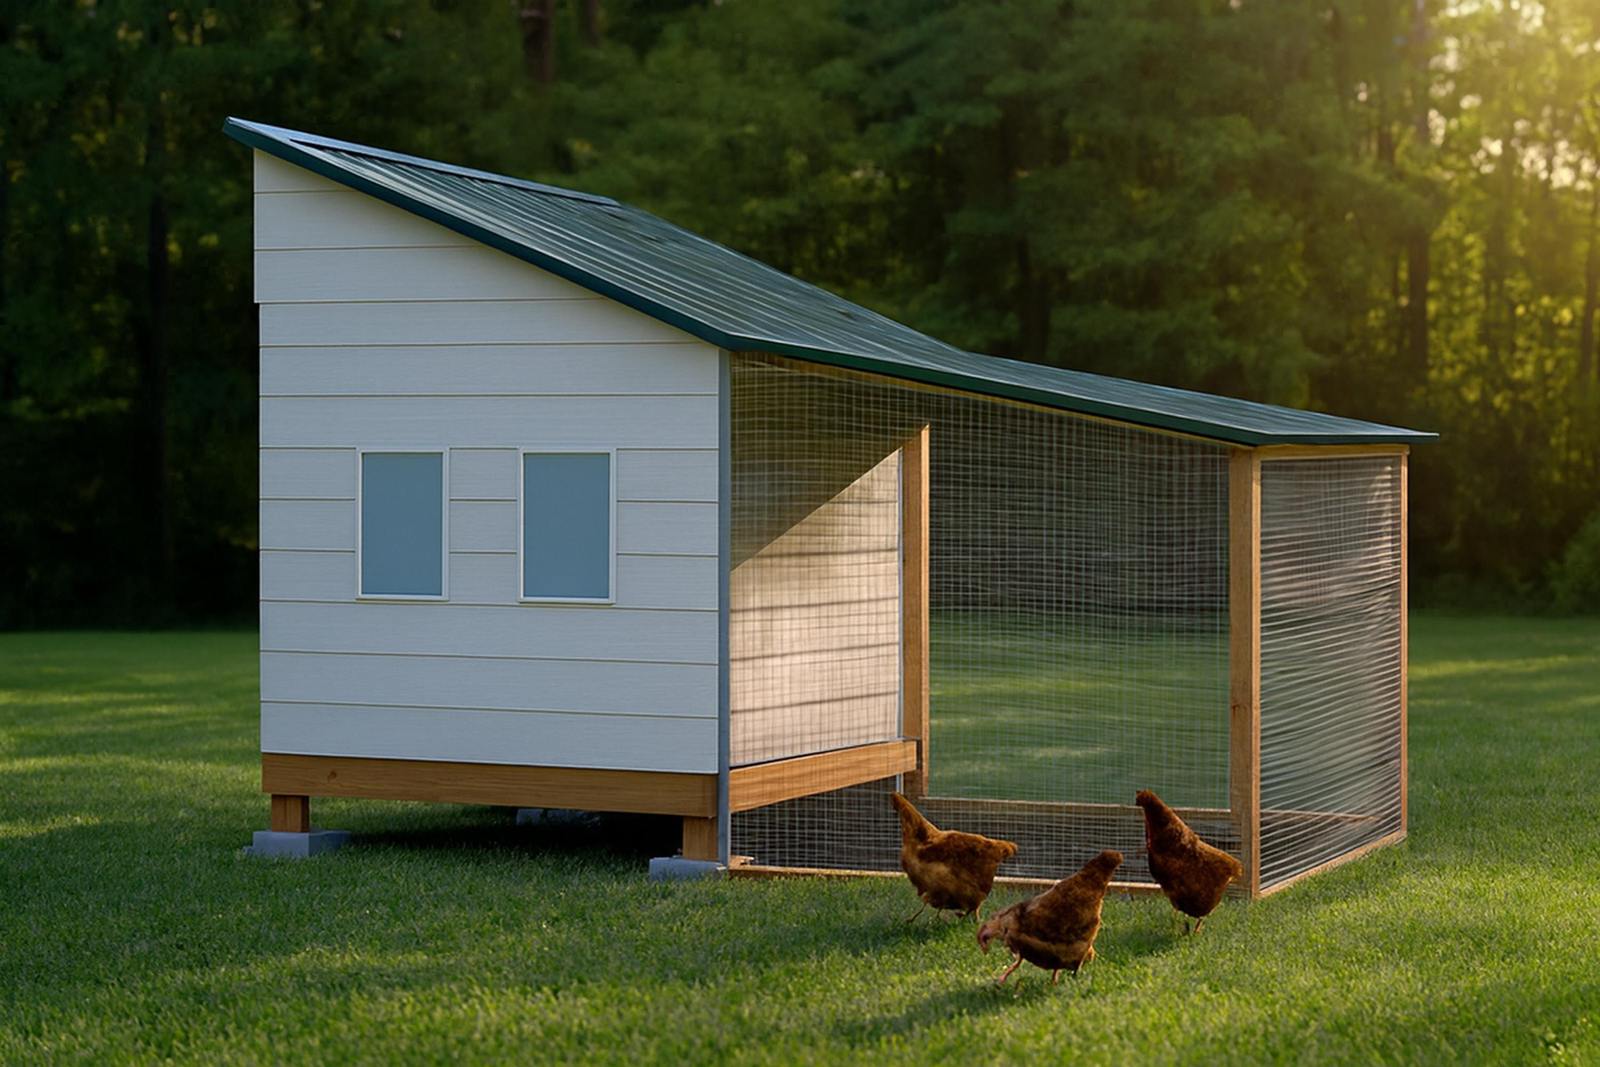
Walk-in coop with a 8×12 screened run. Six to eight days (46-58 hrs).

Walk-in coop with a 10×16 screened run. Ten to twelve days (75-95 hrs).

Walk-in coop with a 8×20 screened run. Twelve to fourteen days (90-110 hrs).
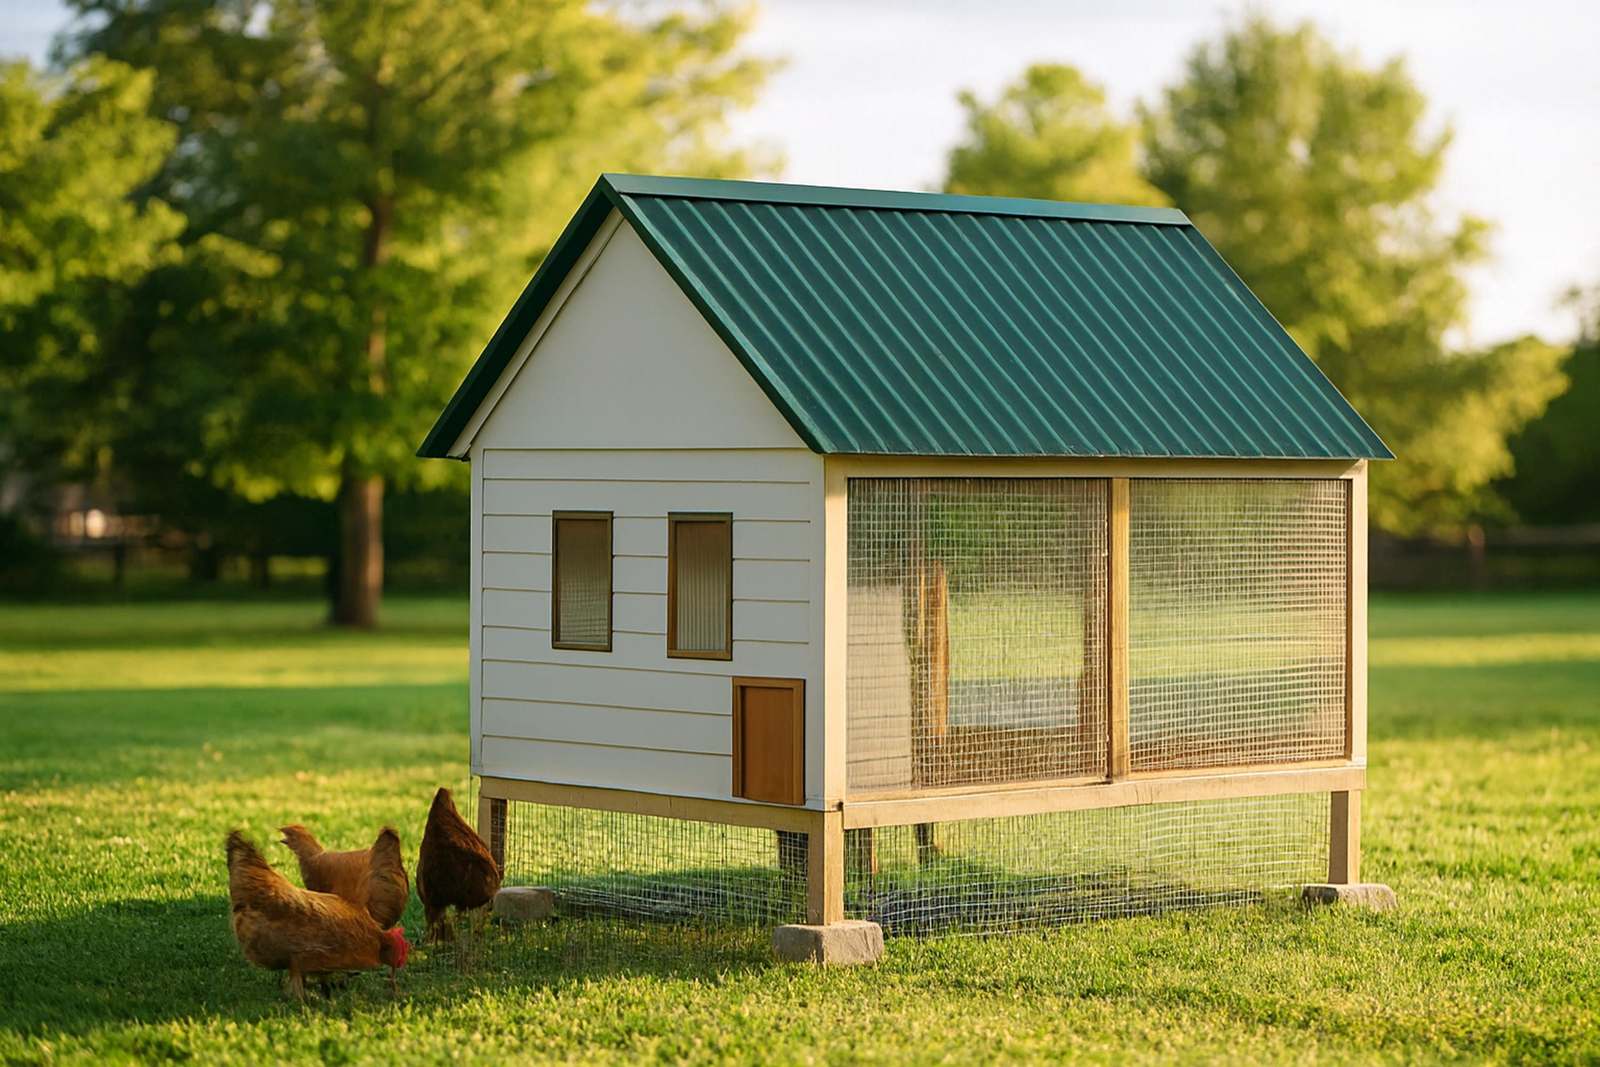
Walk-in coop with a 8×12 screened run. Seven to nine days (55-70 hrs).
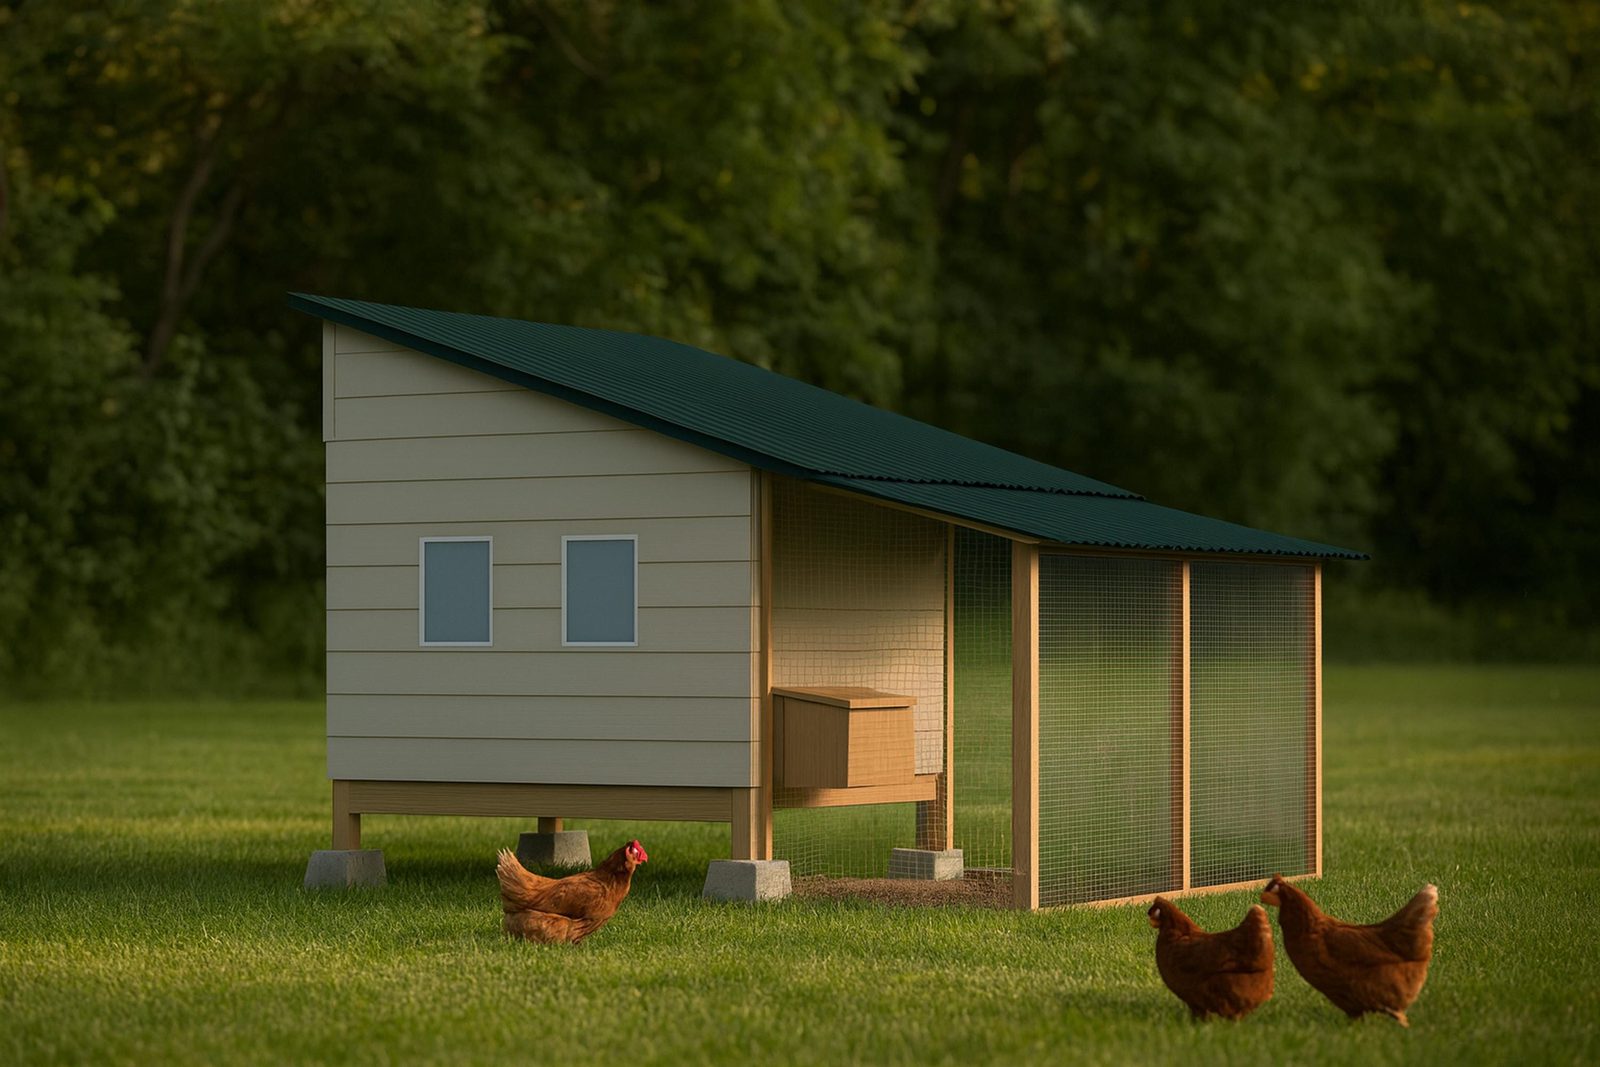
Walk-in coop with a 10×12 screened run. Eight to ten days (60-78 hrs).
See them all side by side on the free chicken coop plans page, or size your flock first with the coop size calculator. Preview PDFs are free downloads; the complete plan books are $4.99 each on our Etsy shop.
Beyond the 28 full plan sets, these are the other designs worth knowing, each with the numbers you need to build or adapt it: footprint, capacity, nest and roost requirements, ventilation area, realistic cost and build time.
To be clear: these are design specifications, not complete plan sets. The designs above are the ones with full plan pages and preview PDFs.
Compact footprints for suburban lots and starter flocks. These are the plans to pick for a first build — square framing, no complex joinery, and a finished coop inside one or two weekends.
4' × 4' · 2–4 hens · $180–$250 · One weekend (8–14 hrs) · Beginner
A raised box on four legs with a single-slope shed roof — the most forgiving structure a first-time builder can attempt. Every cut is square, there is no compound miter anywhere in the plan, and the whole thing is framed from off-the-shelf dimensional lumber. The raised floor keeps birds off cold ground and creates a shaded dust-bath zone underneath.
Best for: A first build, or a starter flock of two to four hens on a suburban lot.
Watch out: At 16 sq ft you are at the ceiling for four standard hens. If you suspect you will add birds, build the 4×8 instead — expanding a finished coop is almost always a teardown.
Key materials: 12× 2×4×8 studs, 3 sheets ½" plywood, 16 lin ft of 1/4" hardware cloth, 4× 4×4 posts cut to 18"
4' × 6' · 2–3 hens · $100–$180 · One day (6–8 hrs) · Beginner
Two triangular end frames joined by ridge and base rails, with the sheltered roost in the upper third and the run underneath. It is the fastest real coop you can build — no walls to square, and the roof and walls are the same planes. Iconic backyard silhouette and it sheds rain and snow without any thought about pitch.
Best for: Fast builds, tight budgets, and anyone who wants a coop finished in a single Saturday.
Watch out: The triangular section wastes floor area and headroom — you will crouch to clean it. Do not size it for more than three birds no matter what the footprint suggests.
Key materials: 8× 2×4×8, 2 sheets ½" plywood for the enclosed end, 24 lin ft hardware cloth
4' × 5' · 3–4 hens · $40–$110 · Two weekends (14–20 hrs) · Intermediate
Built almost entirely from disassembled pallets, using the stringers as framing and the deck boards as siding. Deceptively labor-heavy: the savings come out of your weekend, not your wallet. Budget several hours just for denailing and sorting boards to consistent thickness.
Best for: Learning to build with zero financial risk, or anyone with free pallet access.
Watch out: Use only HT (heat-treated) stamped pallets — MB stamps were fumigated with methyl bromide and have no business near livestock. Pallet wood is rarely flat, so plan on shimming everywhere.
Key materials: 6–8 heat-treated (HT stamp) pallets, 1 sheet OSB for the roof deck, roll roofing, hardware cloth
3' × 4' (stacked) · 2–3 hens · $200–$350 · Weekend (10–14 hrs) · Intermediate
Roost box stacked directly over the run so the whole thing occupies a 12 sq ft floor plate. Finished in cedar pickets so it reads as intentional garden furniture rather than a farm structure — which is frequently the difference between an approving and a complaining neighbor.
Best for: City lots, HOA neighborhoods, and yards under 500 sq ft.
Watch out: Vertical designs concentrate ammonia in the upper box. Give it the full 1.5 sq ft of ridge venting even though the footprint is tiny.
Key materials: 10× 2×3 furring strips, cedar fence pickets for siding, 1 sheet ½" ply, piano hinge
3' × 8' (against a fence) · 3–5 hens · $150–$280 · Weekend (10–12 hrs) · Beginner
A shallow shed-roof structure that borrows the back fence as its rear wall, cutting both materials and footprint. Long and narrow, so it tucks along a property line where a square coop would eat the whole side yard.
Best for: Narrow side yards and lots where every square foot of open lawn matters.
Watch out: Most cities require a setback (commonly 3–10 ft) from property lines for accessory structures. Confirm before you bolt anything to the fence.
Key materials: 10× 2×4×8, 2 sheets ½" ply, corrugated panel roof, ledger bolted to fence posts
4' × 8' · 4–6 hens · $120–$200 · One day (5–7 hrs) · Beginner
PVC arches bent over a 2×6 ground frame and sheathed in hardware cloth, with a tarp over the back half for weather shelter. The cheapest square footage you can enclose, and it goes up in an afternoon with no framing skills at all.
Best for: Mild climates, grow-out pens, and anyone who needs covered space fast.
Watch out: PVC goes brittle under years of UV. Paint it or expect to replace arches around year three. Not a snow-load structure.
Key materials: 6× 3/4" PVC 10-ft sticks, 2×6 base frame, 50 lin ft hardware cloth, tarp or greenhouse film
The standard family flock size. Footprints from 4×8 to 6×10, real roofing, three nesting boxes, and enough interior room to clean without crawling.
4' × 8' · 4–6 hens · $380–$480 · Two to three days (16–24 hrs) · Intermediate
The goldilocks build — one sheet of plywood wide, two long, so sheet goods rip with almost no waste. Walk-around access on all four sides, exterior nesting boxes that let you collect eggs without opening the coop, and enough headroom to reach the far corner with a rake.
Best for: The standard family flock. If you are unsure what size to build, this is the safe answer.
Watch out: Exterior nest boxes are a common water-intrusion point. Flash the top seam and slope the box roof at least 2:12.
Key materials: 22× 2×4×8, 5 sheets ½" plywood, 32 lin ft hardware cloth, asphalt shingles, 2 exterior nest boxes
6' × 6' · 6–8 hens · $450–$650 · Three days (20–28 hrs) · Intermediate
A square, skid-mounted box with a proper gable roof and a human-height door on one wall. Square framing makes the roof simple and gives you a genuinely rot-resistant structure that will still be standing in a decade.
Best for: Keepers who want one permanent coop and never want to think about it again.
Watch out: Skid-mounted means it can be dragged, which some jurisdictions treat as "temporary" and others do not. It changes your permit answer — check first.
Key materials: 28× 2×4×8, 6 sheets ½" ply, 4× 4×4 skids, 40 lin ft hardware cloth, architectural shingles
6' × 8' · 8–10 hens · $600–$850 · Three to four days (26–34 hrs) · Intermediate
A single-slope shed roof running front-to-back, which puts the tall wall at the door for standing headroom and drains everything to the back. Cheaper and faster to frame than a gable while still giving you a large, well-lit interior.
Best for: Growing flocks and anyone who wants walk-in convenience without walk-in cost.
Watch out: A 3:12 shed roof in heavy-snow country needs the rafters upsized to 2×6 and the spacing tightened to 16" on center.
Key materials: 34× 2×4×8, 8 sheets ½" ply, corrugated metal roofing, 48 lin ft hardware cloth
6' × 8' · 8–10 hens · $700–$950 · Four days (30–38 hrs) · Advanced
The classic gambrel barn profile, which buys real loft volume above the roost for feed and bedding storage. The gambrel is the only genuinely tricky part — each rafter is four pieces joined with plywood gussets, and every one has to match.
Best for: Builders with some framing experience who want the coop to be a feature of the yard.
Watch out: Cut one rafter, test-fit it, then use it as the template for the rest. Getting the gussets wrong on all twelve is a full rebuild of the roof.
Key materials: 36× 2×4×8, 8 sheets ½" ply, gambrel rafter gussets, cedar trim, shingles
5' × 8' · 6–8 hens · $550–$750 · Three days (22–30 hrs) · Intermediate
Framed with hinged upper wall panels that swap the coop between a 6 sq ft summer vent configuration and a 2 sq ft winter one, with insulation between studs behind the sheathing. One structure that works in a 105°F August and a 5°F January.
Best for: Continental climates with genuinely hot summers and cold winters.
Watch out: Winter ventilation goes at the ridge, above bird height. Cutting it to zero traps moisture and causes frostbite far faster than cold air alone does.
Key materials: 26× 2×4×8, 6 sheets ½" ply, R-13 batt, removable vent panels, hardware cloth
6' × 10' · 4–6 hens · $500–$800 · Four days (28–36 hrs) · Advanced
A coop on the north end sharing a wall with a glazed growing space on the south. Bird body heat buffers the greenhouse overnight; the greenhouse pre-warms coop air on sunny winter days. A genuinely efficient pairing in cold, bright climates.
Best for: Cold-climate homesteads already running a season-extension garden.
Watch out: It will overheat catastrophically in summer without automatic roof vents. This is a cold-climate design — do not build it in the desert.
Key materials: 30× 2×4×8, twin-wall polycarbonate glazing, 4 sheets ½" ply, ridge vent, hardware cloth
Standing headroom, dedicated nesting walls, and permanent foundations. At this scale you are building an outbuilding — expect a permit conversation in most jurisdictions.
8' × 8' coop + 8' × 8' run (209-7/8" overall) · 12–16 hens · $1,400–$2,200 · Five to six days (two people) · Advanced
Our own CAD-drawn plan set, published in full on its plan page — every dimension, the material list and all sixteen assembly steps. The coop floor sits 24 inches up on four 4×4 posts, so the birds get the shaded space underneath on top of the attached screened run. A 92-1/2 inch exterior nest bank lets you collect eggs without opening the coop.
Best for: Serious egg production, and anyone who wants a complete dimensioned plan rather than a design to interpret.
Watch out: At 17 ft 6 in overall this is a permitted accessory structure in most jurisdictions — commonly anything past 100–120 sq ft of footprint. Confirm setbacks before the first post goes in.
Key materials: 104× 2×4×8, 8× 4×4×8, 10 sheets 3/4" plywood, 104 pcs lap siding, 10× 4×8 metal roof sheets, 4× 18"×23" windows
10' × 12' · 25–30 hens · $1,800–$2,800 · Two weeks (70–90 hrs) · Advanced
A permanent outbuilding on concrete piers with a framed feed room partitioned off the bird space. At thirty birds you are running a small operation, and the plan reflects it — dedicated storage, a wash-down floor, and roosts you can pull for cleaning.
Best for: Homesteads selling eggs, or anyone consolidating multiple small coops into one.
Watch out: This is a permitted structure nearly everywhere, and in many counties it triggers a property-tax reassessment as an improvement. Budget for both.
Key materials: 80× 2×4×8, 2×6 rafters, 20 sheets ½" ply, concrete pier footings, metal roofing, 120 lin ft hardware cloth
8' × 10' · 16–20 hens · $1,200–$1,700 · One week (48–60 hrs) · Advanced
Built around a roll-out nesting bank and a droppings board under the roosts, so the two daily chores — collecting and scraping — each take under five minutes. Steel roofing over a vented ridge handles both sun load and snow without maintenance.
Best for: Anyone whose flock has outgrown a 6×8 and who values daily chore time over build cost.
Watch out: Bare steel roofing radiates heat downward. Use a radiant barrier or furring strips to create an air gap in any climate that clears 90°F.
Key materials: 58× 2×4×8, 14 sheets ½" ply, 8 corrugated steel panels, ridge vent, 100 lin ft hardware cloth
8' × 10' (existing shed) · 15–20 hens · $250–$500 (shed already owned) · Two days (14–20 hrs) · Beginner
Converting a stock 8×10 garden shed into a coop is the highest square-foot-per-dollar move available, because the expensive part — the shell — already exists. The work is cutting a pop door, adding gable vents, building the roost and nest bank, and sealing the floor.
Best for: Anyone with an underused shed. Also the fastest route to a large coop.
Watch out: Stock sheds ship with almost no ventilation. You need roughly 8 sq ft of vent for this footprint — two gable vents plus a soffit run, not one small window.
Key materials: 8× 2×4×8 for roosts and nest bank, 2 gable vents, pop door kit, 60 lin ft hardware cloth, vinyl floor
Wheeled and skid-mounted coops you move to fresh grass. Lower feed bills and no bare-dirt run, in exchange for a daily move.
4' × 8' · 3–5 hens · $220–$380 · Two days (12–18 hrs) · Intermediate
A wheeled frame with the enclosed roost over one third and open run under the rest, light enough for one person to move daily. Fresh grass every morning means lower feed cost, no bare-dirt run, and manure spread across the yard instead of concentrated.
Best for: Rotational grazing on a lawn or pasture, and keepers who like a daily rhythm with the flock.
Watch out: Weight is the whole design constraint. Every upgrade — real shingles, thicker ply, a second nest box — is weight you lift 365 times a year. Stay ruthless.
Key materials: 16× 2×4×8, 2× 10" pneumatic wheels, 1 sheet ½" ply, 40 lin ft hardware cloth, corrugated panel
6' × 10' · 5–8 hens · $180–$320 · One day (7–10 hrs) · Beginner
A cattle panel bent into an arch over a skid base — enormous enclosed volume for the material cost, and light enough to drag with one hand. Cattle panel is far more durable than PVC and shrugs off both UV and hail.
Best for: Pasture rotation on a budget, and anyone who wants maximum covered area per dollar.
Watch out: The arch profile catches wind like a sail. Stake the downwind corners or you will find it two yards over after the first storm.
Key materials: 5× cattle panel or 3/4" PVC arches, 2×6 skid base, 60 lin ft hardware cloth, tarp, 2 wheels
3' × 8' · 2–4 hens · $160–$260 · One day (7–9 hrs) · Beginner
The A-frame profile on skids with lift handles at one end — a wheelbarrow-style move where you pick up one end and walk it forward. The lightest genuinely weatherproof mobile coop in this library at roughly 70 lbs finished.
Best for: Small flocks on small lawns, and keepers who cannot lift much.
Watch out: Twelve square feet is three birds, honestly. The long footprint tempts you to add a fourth and a fifth — resist it.
Key materials: 12× 2×3×8, 1 sheet ½" ply, 30 lin ft hardware cloth, 2 handles, roll roofing
3' × 5' · 2 hens · $140–$220 · Half day (4–6 hrs) · Beginner
A two-bird tractor sized to fit through a standard 36-inch garden gate — which is the constraint that kills most mobile coop plans on a fenced suburban lot. Rolls on casters rather than pneumatic wheels because it never leaves flat lawn.
Best for: Two-hen city flocks where the coop has to pass between house and fence.
Watch out: Measure your narrowest gate before cutting. Thirty-six inches nominal is often 34 inches of actual clear opening.
Key materials: 8× 2×2 furring, ½" ply roost box, 20 lin ft hardware cloth, 2 caster wheels
Purpose-built designs: desert heat management, insulated cold-climate builds, predator fortresses, roll-out nests, quarantine boxes, and run additions.
6' × 8' · 6–8 hens · $600–$900 · Three days (24–32 hrs) · Intermediate
Built inverted from a cold-climate coop: three of four walls are hardware cloth above knee height, the roof floats on furring strips to vent its own underside, and shade cloth extends past the run on the west face. Roughly 10 sq ft of permanent vent for 48 sq ft of floor.
Best for: Phoenix, Tucson, Vegas, and anywhere that clears 105°F for weeks at a time.
Watch out: Heat kills far more backyard hens than cold does. Shade over the run matters as much as coop venting — birds will not use an unshaded run at 110°F.
Key materials: 32× 2×4×8, reflective steel roofing on furring, 60% shade cloth, misting line, 60 lin ft hardware cloth
6' × 8' · 6–10 hens · $750–$1,050 · Four days (28–36 hrs) · Intermediate
Insulated between studs with a full plywood interior liner so birds cannot pull at the batt, and vented exclusively at the ridge — above bird height — so moisture leaves without creating a draft across the roost. Deep-litter floor for composting heat.
Best for: Minnesota, Vermont, the Dakotas, and Canadian prairie winters.
Watch out: Do not add a heat lamp. Hens acclimate fine to sub-zero; heat lamps are the leading cause of coop fires and they leave the flock unable to cope if the power drops.
Key materials: 34× 2×4×8, R-13 batt in walls, R-19 in ceiling, interior ply liner, ridge vent, 48 lin ft hardware cloth
6' × 8' + 8' × 12' run · 6–8 hens · $800–$1,200 · Four to five days (32–42 hrs) · Advanced
Every opening covered in quarter-inch 19-gauge hardware cloth stapled and then screwed through fender washers, a 12-inch apron buried down and out around the entire perimeter, a fully roofed run, and two-action latches on every door. Built for country where you will lose birds otherwise.
Best for: Rural properties with raccoons, weasels, foxes, or hawk pressure.
Watch out: Chicken wire is not predator protection — a raccoon tears it and a weasel walks through the mesh. Hardware cloth is the entire point of this plan; do not substitute.
Key materials: 36× 2×4×8, 1/4" 19-ga hardware cloth throughout, 12" buried apron, fully covered run, two-action latches
4' × 6' · 10–15 chicks → 4–6 adults · $280–$420 · Two days (14–18 hrs) · Intermediate
A coop with a removable center divider and a mounting rail for a radiant heat plate, so it serves as a brooder for weeks one through six and then converts to a standard coop by pulling one panel. Saves building — and storing — a separate brooder every spring.
Best for: Anyone raising chicks annually who is tired of the cardboard-box-in-the-garage phase.
Watch out: Chicks need roughly 0.5 sq ft each at week one and 2 sq ft by week six. Fifteen chicks fit at the start; ten is the honest number by the time they feather out.
Key materials: 18× 2×4×8, 3 sheets ½" ply, removable divider panel, heat-plate mount, 36 lin ft hardware cloth
3' × 4' · 1–3 birds (temporary) · $120–$200 · Half day (5–7 hrs) · Beginner
A small, fully sealable box kept well away from the main flock for new-bird quarantine, injury recovery, or a broody hen you need to break. The floor is sealed vinyl specifically so the whole thing can be disinfected between occupants.
Best for: Any keeper who adds birds from outside their own flock — which is nearly everyone.
Watch out: Thirty days of genuine separation is the standard quarantine, and "separate" means separate airspace and separate boots, not the other end of the same run.
Key materials: 8× 2×3×8, 1 sheet ½" ply, sealed vinyl floor, 20 lin ft hardware cloth, separate feeder set
5' × 7' · 6–8 hens · $520–$720 · Three days (22–28 hrs) · Advanced
Nest boxes floored with astroturf on an eight-degree slope so eggs roll forward into a padded exterior tray the moment they are laid. Effectively eliminates egg-eating and cracked eggs, and collection happens without opening the coop at all.
Best for: Flocks with an egg-eating problem, or anyone selling eggs who wants them clean.
Watch out: The slope is fussy. Under about six degrees eggs sit; past twelve they roll hard enough to crack on the tray. Build a test box before committing.
Key materials: 26× 2×4×8, 6 sheets ½" ply, astroturf nest liners on 8° slope, exterior collection tray, 40 lin ft hardware cloth
6' × 8' · 6–10 hens · $580–$800 · Three days (24–30 hrs) · Intermediate
Framed with a twelve-inch retained litter well and a full-width clean-out door at floor level, so bedding composts in place through the winter and gets forked out twice a year instead of weekly. The composting mass also releases real heat in cold months.
Best for: Cold-climate keepers and gardeners who want the finished compost.
Watch out: Deep litter only works if it stays dry and gets turned. Let it go damp and you have an ammonia problem instead of a compost pile.
Key materials: 32× 2×4×8, 12"-deep sealed litter well, 6 sheets ½" ply, wide clean-out door, 48 lin ft hardware cloth
4' × 6' (footprint doubles as run) · 4–5 hens · $320–$480 · Two days (16–22 hrs) · Intermediate
The coop sits on 40-inch legs and the enclosed run occupies the shaded space directly beneath, so a 24 sq ft yard footprint delivers both. The single most space-efficient layout available on a small lot.
Best for: Small yards where the coop and run cannot occupy separate ground.
Watch out: The under-run gets no sun and stays damp. Grade the ground beneath to drain and use deep sand rather than dirt or shavings.
Key materials: 20× 2×4×8, 4× 4×4 posts cut to 40", 3 sheets ½" ply, ramp, 32 lin ft hardware cloth
8' × 12' (run only) · Attaches to any 6–10 bird coop · $400–$650 · Two days (14–20 hrs) · Intermediate
A roofed, fully enclosed run that bolts onto an existing coop, with a clear polycarbonate roof so the run stays bright while staying dry. Hardware cloth on all four walls and a buried apron on the perimeter make it hawk- and dig-proof.
Best for: Extending an existing coop, or wet climates where an open run turns to mud by November.
Watch out: A roofed run changes snow load on the attached coop wall. Tie the ledger into framing, never into siding alone.
Key materials: 24× 2×4×8, clear corrugated polycarbonate roofing, 96 lin ft hardware cloth, buried apron
8' × 8' · 6–8 hens · $180–$320 · Two days (14–18 hrs) · Intermediate
Pallets laid flat as a raised deck floor with cattle panel arches sprung off the perimeter frame. Combines the cheapest floor with the cheapest enclosed volume, and the raised pallet deck solves the mud problem hoop coops usually have.
Best for: Maximum enclosed area for minimum spend, on ground that drains poorly.
Watch out: Pallet decking has gaps that will swallow eggs and catch feet. Sheath the top with a layer of ply or hardware cloth before the birds move in.
Key materials: 4 HT pallets as deck, 4 cattle panels, 2×6 perimeter, 70 lin ft hardware cloth, tarp over rear half
6' × 12' · 2 × 6 hens (separated) · $1,000–$1,400 · Six days (44–56 hrs) · Advanced
One structure and one roof split by a solid full-height center wall into two independent coops with their own pop doors and runs. Runs the cost of about one and a third coops instead of two, and lets you integrate a new flock across wire before mixing.
Best for: Keeping a breeding group separate, running two age cohorts, or slow-introducing new birds.
Watch out: The partition has to be solid, not wire, if the point is disease separation. Wire is fine for visual introduction but shares airspace.
Key materials: 52× 2×4×8, 12 sheets ½" ply, full-height center partition, two pop doors, 110 lin ft hardware cloth
Each plan accounts for predators, ventilation, and the scope creep that happens mid-build. No "some lumber, some wire" handwaving.
Every plan includes exact quantities priced at current Home Depot and Lowe's numbers. You'll know the total before you buy the first 2x4.
Our writers have raised flocks in Phoenix, the Pacific Northwest, and northern Colorado. The advice is field-tested, not scraped from Pinterest.
Picking a coop plan is like picking a house—it has to fit your life, not someone else's idea of what your life should be. The wrong choice means rebuilding within a year. Here's the framework that works.
Flock size anchors every other decision. Two backyard hens need a very different structure than eight. The rule: 3–4 square feet per bird inside, 8–10 square feet per bird in the run. A flock of four needs a 16 sq ft coop and 32–40 sq ft run. Bump to eight hens and you're at 24–32 sq ft inside, 64–80 sq ft outside.
If you think you'll expand the flock later, build larger now. Undersized coops create aggression, illness, and egg-eating. Expanding a built coop is rarely clean—usually you're starting over.
Use our size calculator to get exact square footage for your flock.
Climate matters more than beginners realize. A plan that works in Vermont will cook your hens in Phoenix. Cold climates need insulation, smaller windows, and high roosts to capture body heat. Hot climates need massive cross-ventilation, shade, and often a long-low footprint rather than tall-enclosed.
Rainy regions need gutters, pitched roofs, and rot-resistant materials. Our climate guide has region-specific design notes. In extreme zones, see our Arizona coop guide.
Measure your yard twice. A 4x8 tractor won't fit along a property line with only 6 feet of clearance. Walk the perimeter and identify real placement: sun exposure, predator access, proximity to your water hookup, and what your neighbors will tolerate.
Many cities require 10-foot setbacks from property lines. Check zoning before you buy lumber—the rules are cheaper to follow than to fight.
You can build a functional 4x4 coop for under $100 from pallets. You can also spend $800 on a walk-in with metal roofing. Neither is wrong—the difference is durability and convenience. Pallet builds are great for learning; a premium build lasts 8–10 years and saves time over its life.
See our full cost breakdown for where every dollar goes at each tier.
Be honest here. If you've never used a circular saw, don't pick a plan that requires angled rip cuts and pocket holes. Start with A-frames or basic rectangles—our beginner plans exist for this reason. You'll have the confidence for something complex after one completed build.
The framework: start with flock size, narrow by climate and space, then pick a style and budget tier that match your skill. If two plans fit, pick the one closest to your exact needs—a plan that's nearly right beats one you'll customize mid-build.
Flock size sets the footprint, cost, and complexity. Pick the tier that matches what you're keeping.
12–16 sq ft inside · 24–40 sq ft run · $80–$300
Compact designs for suburban backyards. A-frames and pallet builds shine at this size. Our easiest entry point.
20–32 sq ft inside · 50–80 sq ft run · $200–$500
Standard family flock. 4x6 to 6x6 footprints, real roofing, two or three nesting boxes. Weekend builds.
36–60 sq ft inside · 90–150 sq ft run · $400–$800
Production-oriented. Walk-in designs and 6x10 coops with space for broody boxes and isolation areas.
60+ sq ft inside · 200+ sq ft run · $800–$2,000+
Homestead scale. Permanent structures with concrete footers, metal roofing, and sometimes multiple coops.
All 28 plan pages, grouped by type — each link goes straight to that design's drawings, material list and cut tables.
Coops: 4x4 coop plans for 2-3 hens, 4x6 coop plans for 3-4 hens, 6x8 coop plans for 3-5 hens, 4x8 coop plans for 4-6 hens, 4x8 coop plans for 4-6 hens, 6x8 coop plans for 6-9 hens, 6x8 coop plans for 7-10 hens, 6x8 coop plans for 7-10 hens, 6x8 coop plans for 7-10 hens, 6x10 coop plans for 9-12 hens, 8x8 coop plans for 12-16 hens, 8x8 coop plans for 10-13 hens, 8x10 coop plans for 12-14 hens, 8x12 coop plans for 12-19 hens, 8x12 coop plans for 14-18 hens, 8x12 coop plans for 14-18 hens, 10x10 coop plans for 15-17 hens, 10x12 coop plans for 18-22 hens, 8x16 coop plans for 19-26 hens.
Tractors: 4x8 chicken tractor plans for 2-3 hens, 4x10 chicken tractor plans for 2-4 hens, 6x10 chicken tractor plans for 4-6 hens.
Standalone runs: 6x8 chicken run plans for 6-9 hens, 8x16 chicken run plans for 16-25 hens, 10x20 chicken run plans for 25-40 hens.
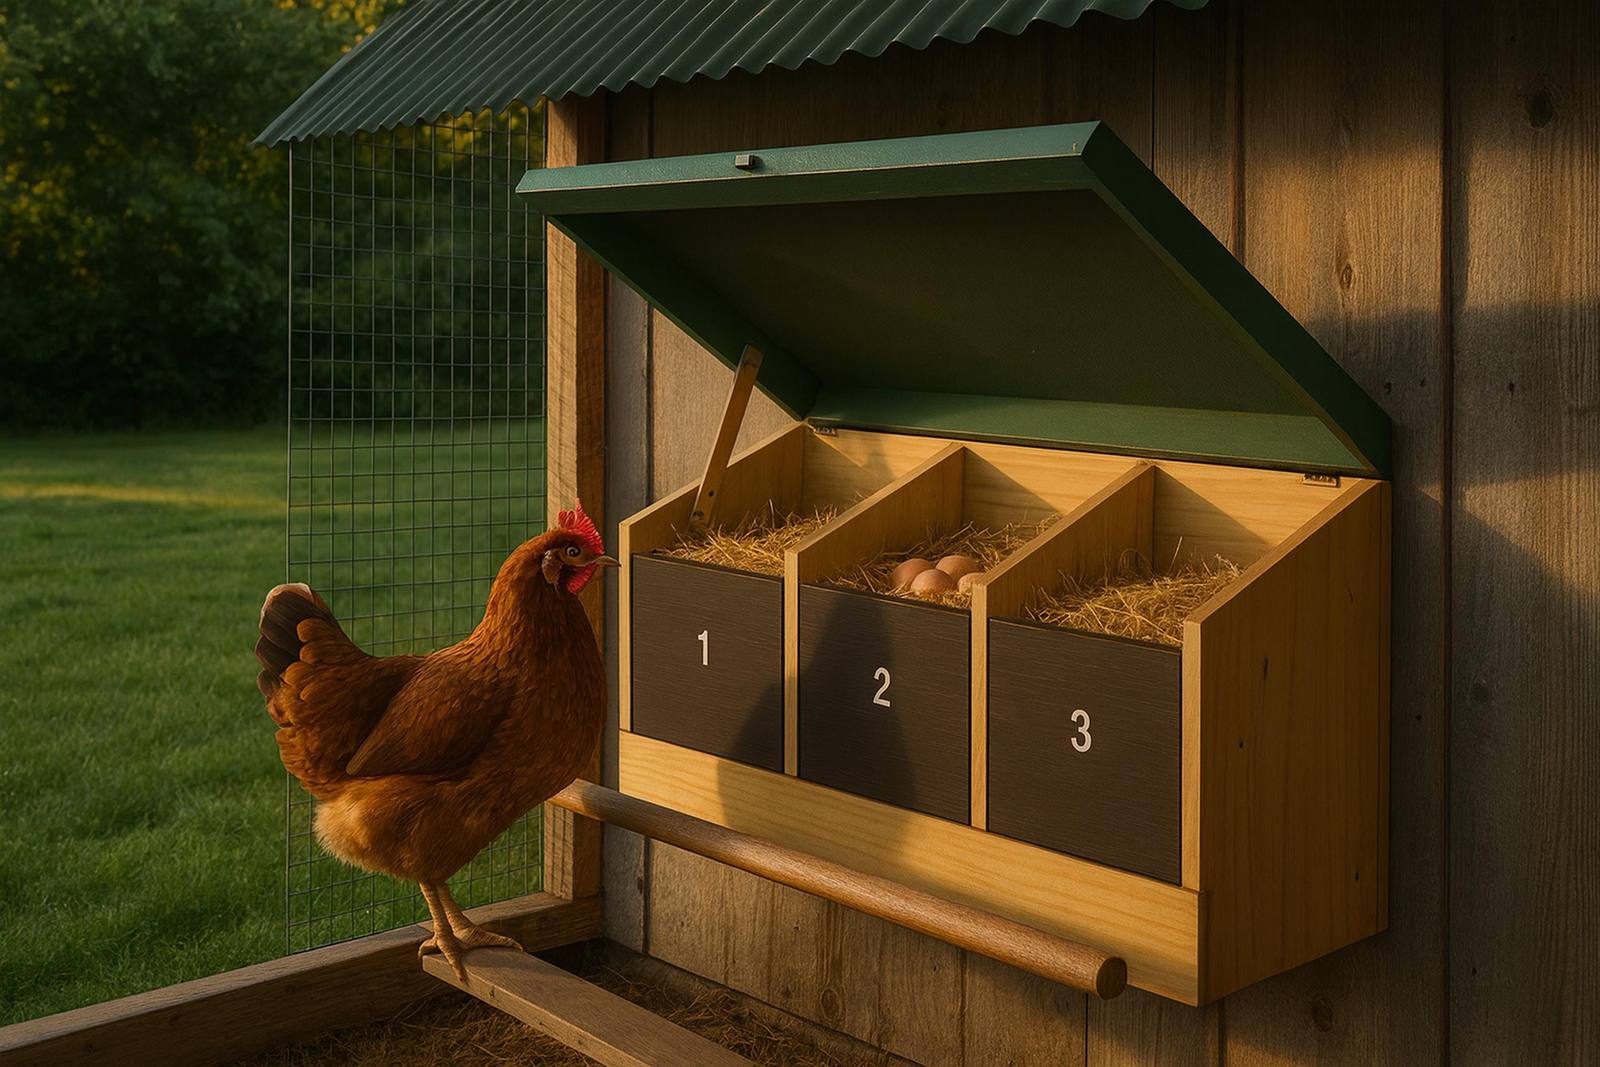
Nesting box bank: nesting box plans for up to 12 hens.
Duck houses: 4x6 duck house plans for 3-4 ducks, 6x8 duck house plans for 6-8 ducks.
Style isn't cosmetic. It shapes how you clean, how predators attack, and how long the coop lasts.
$150–$600 · 4–12 birds
Rectangular box on stilts with pitched roof. Most common design and for good reason—it works.
$100–$250 · 2–4 birds
Triangular profile, fast to build, iconic look. Downside: limited headroom means crouching to clean.
$600–$1,500+ · 8+ birds
6+ feet tall, 6x8 minimum. Cleaning and egg collection are pleasant. Worth it for serious producers.
$200–$500 · 2–6 birds
Wheeled, movable. Rotate daily for fresh grass. Low feed bills, but daily effort required.
$150–$400 · 1–2 birds
Designed for tight lots, HOAs, or micro-yards. Looks deliberate rather than ramshackle.
$150–$400 · 3–6 birds
Vertical designs, integrated runs, easy cleaning access. Made for yards under 500 sq ft.
Sometimes the budget picks the plan, not the other way around.
Pallets, old fence boards, scrap lumber. Plans stay simple—4x4 or smaller. Great for learning without a financial hit. Hunting materials takes time, and you may end up rebuilding once you know what you'd do differently.
Dimensional lumber from the big box, a straightforward plan, and a weekend of work. A 4x6 coop with a run built from 2x4s and plywood fits here. Durable and well-documented. Right for most 2–6 bird setups.
6x8 or larger, real roofing (shingles or metal), hardware cloth throughout, quality latches, maybe insulation or larger windows. Jump in durability—8–10 year lifespan instead of 3–4.
Walk-ins, metal roofing, advanced ventilation, concrete footers, finishes that look store-bought. Proud-of-it structures that outlast cheaper builds by years.
Your weather decides how much ventilation, insulation, and weatherproofing you need.
Minnesota, Vermont, Canada
Insulation, small windows, high roosts, deep bedding. Don't heat the coop—hens generate their own. Vent moisture without creating drafts.
Arizona, New Mexico, SoCal
Max shade and cross-ventilation, reflective roofing, often a summer-configured vent layout. Misters help during 110°F+ stretches.
Pacific NW, Southeast
Gutters, steep roof pitch, rot-resistant materials, drainage. Ventilation prevents mold and respiratory disease.
Not all free plans are created equal. Here's the difference between a plan you'll finish and one you'll regret.
Fresh content on building, maintaining, and optimizing your coop.
Cheap chicken coop plans ranked by real materials cost, from a $675 tractor to a $7,100 insulated walk-in: cost per hen, five savings, three fake ones.
Chicken coop interior layout from real floorplans: roost height, nest bank size, pop door, aisle width and vents on our 4x6, 6x8 and 8x12 walk-in plans.
Where to put a chicken coop: high ground first, then sun, wind and predator cover. Real plan footprints, Arizona's 20-ft and 200 sq ft limits, six checks.
Chicken coop size chart for 2 to 50 chickens: coop sq ft, run, nest boxes, roost inches and vent per flock, matched to real plans, with extension figures.
Cold climate chicken coop plans: vents above the roost that stay open, a roof for your snow load, deep litter. The 8x12 insulated coop as the example.
Hardware cloth for a chicken run: 1/4-inch 19-gauge, washers, a 12-inch apron and exact footage for our runs and coops. 1/2-inch and chicken wire compared.
The plan pages are free — every dimension, the complete material list and every cut length is published on the site with no email signup, and each design has a free preview PDF. The complete plan books, with per-wall cut tables, a board-by-board cut plan and a printable buy list, are $4.99 each on Etsy.
An isometric overview, dimensioned plan and elevation drawings, a floor-framing layout, the full bill of materials, and a per-step cut table listing every part, quantity, length and stock size. The 8x8 set runs 80 pages; the newer plan books run 28 to 41 pages each.
Work from flock size at 4 square feet of coop per hen: 4x4 for 2-4 birds, 4x6 for 4-6, 6x8 for 8-12, 8x8 for 12-16, and 8x12 for 20-24. If you are between two sizes build the larger one — nearly everyone adds birds in year two, and expanding a finished coop is almost always a teardown.
A simple 4x4 coop takes a weekend (8–12 hours). A 6x8 with a run takes 16–24 hours over two or three weekends. A walk-in structure is 30–40 hours. Having a helper and pre-gathered materials cuts that time almost in half.
Predator-proofing. A beautiful coop that loses hens to a raccoon in week one is a failed build. Hardware cloth (not chicken wire), a buried apron, and two-action locks are non-negotiable. Ventilation is second, size is third.
Yes. Pick a plan labeled beginner-friendly—A-frame or basic rectangle—and avoid complex joinery. You need a circular saw, drill, level, and tape measure. See our beginner chicken coop plans for the full starter list.
Depends on your city. Some places have no restrictions; others require permits, limit flock size, or ban roosters. Check your local zoning office before buying lumber. Our coop permit guide breaks down the rules state by state.
Rule of thumb: 3–4 square feet per bird inside the coop, 8–10 square feet per bird in the run. Four hens need a 16 sq ft coop and a 32–40 sq ft run. Use our chicken coop size calculator for exact numbers by breed.
Pick a plan that matches your flock size, space, and budget. Grab the materials list, make one shopping trip, and build something your hens will use for years.