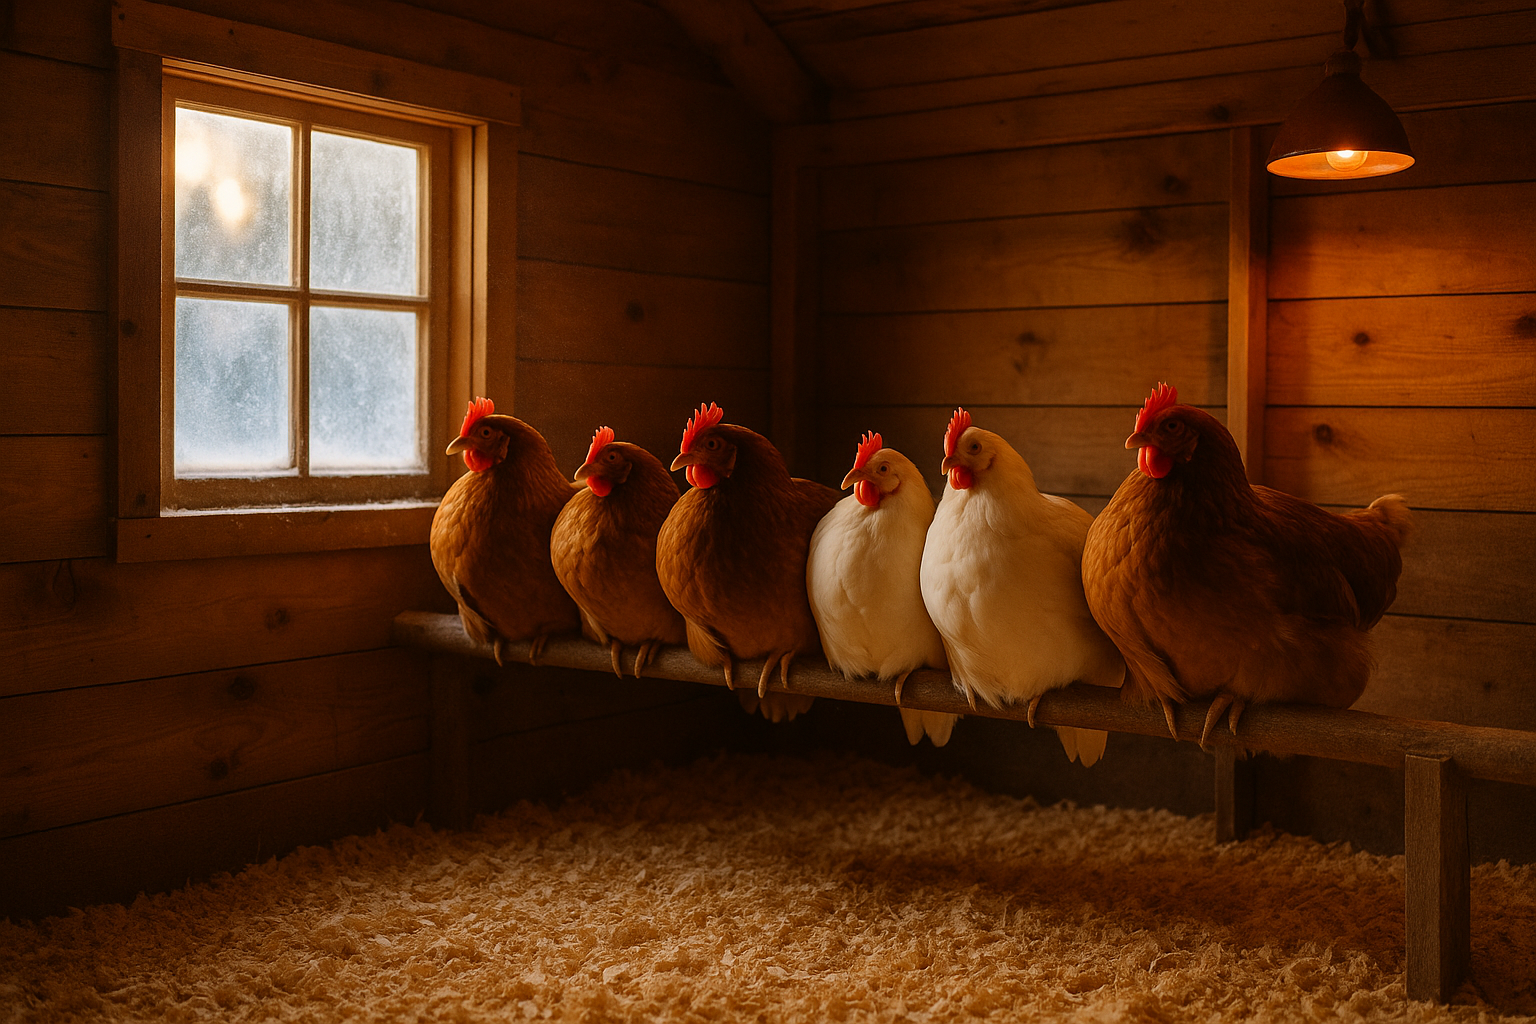
Most “heated chicken coop” advice online is wrong, and it kills birds.
Heat lamps cause hundreds of catastrophic coop fires each winter. Sealed-up coops trap moisture and cause frostbite. Worse, most people add heat for a problem that doesn’t exist — healthy adult chickens of cold-hardy breeds shrug off temps that horrify their owners.
I built my first coop in Phoenix where heating was never the question (cooling was). But I’ve helped neighbors here through cold snaps and consulted with builders in Montana and Minnesota for years. The pattern is the same everywhere: people overheat, under-ventilate, and lose birds to problems they created trying to fix.
This guide cuts through the confusion. When you actually need heat. When you don’t. How to provide it safely if you do. And the three non-electric moves that solve 90% of “I need a heated coop” situations.
Brooding chicks is a different problem from heating a coop, and the temperature targets are much higher. The chicken brooder size calculator covers the week-by-week schedule from 95°F down to ambient.
The honest answer first: most coops don’t need heat
Healthy adult chickens of cold-hardy breeds — Buff Orpingtons, Plymouth Rocks, Australorps, Wyandottes, Brahmas, Jersey Giants, Rhode Island Reds — tolerate temperatures down to single digits Fahrenheit without any supplemental heat. They have built-in down jackets. They produce body heat. They roost together to share warmth.
The three actual problems cold weather creates:
- Moisture — ammonia and humidity inside the coop cause respiratory disease and frostbite
- Frozen water — birds dehydrate fast when their waterer freezes
- Frostbite on exposed combs and wattles — especially on roosters and Mediterranean-breed hens with large combs
Notice what’s not on that list: cold itself. The fix for all three is ventilation, water management, and breed selection — not heat.
When heating is actually warranted
Three scenarios where supplemental heat is genuinely useful:
1. Sustained sub-zero cold (below -20°F for multiple days). Northern Minnesota, North Dakota, interior Alaska — places where even cold-hardy breeds reach the edge of their tolerance. A low-wattage radiant panel set to 35°F as a floor is sensible here.
2. Baby chicks under 6 weeks. Chicks can’t thermoregulate. They need brooder-level heat (95°F week 1, dropping 5°F per week). This isn’t “coop heating” exactly — it’s brooder heating, with a flat-panel brooder plate, not a heat lamp.
3. Sick or injured birds in recovery. A small “hospital pen” inside the coop with a low-wattage radiant panel helps a recovering bird who can’t generate enough body heat on her own.
If you’re not in one of those three situations, skip the heater. The risks (fire, condensation, weakened cold tolerance, electrical hazards) outweigh the benefits.
The fire risk you must understand
A typical 250W heat lamp:
- Runs at 500°F surface temperature
- Sits 12-18 inches from dry pine shavings
- Hangs from a clip-on clamp that loosens with thermal cycling
- Sits near feathered birds that flap and roost
Heat lamps are the leading cause of structure fires in backyard poultry setups. Insurance industry data and fire marshal reports consistently rank them above electrical faults, generators, and space heaters. A knocked-down heat lamp in a wood-framed coop with pine-shaving bedding ignites in seconds and the coop is gone in under 10 minutes.
If you read one thing in this guide: do not use heat lamps in a chicken coop. Not the red kind. Not the “safe” branded kind. Not on a chain instead of a clamp. The technology is fundamentally unsafe in this environment.
Safe heating options (in order of preference)
1. Flat-panel radiant heaters — gold standard
Brands: Sweeter Heater, Cozy Coop, Premier 1 RPH-1.
- Surface temperature: 165-200°F (won’t ignite bedding)
- Mount: flat against the wall or ceiling
- Wattage: 100-200W typical
- Cost: $70-150
Mount on a wall, plug into a thermostat outlet set to 35°F. It only kicks on when the coop drops to freezing and runs at low power. No fire risk because the surface is too cool to ignite feathers, dust, or shavings.
2. Tube-style oil-filled heaters (only with a thermostat outlet)
Brands: Cozy Products TT-200, K&H Thermo-Chicken Heated Pad (for the floor).
- Surface temperature: warm to the touch, ~120-150°F
- Mount: floor or wall-mount versions
- Wattage: 200W
- Cost: $40-90
Acceptable when secured properly and run through a thermostat outlet. Slightly less ideal than flat panels because they’re floor-level (chickens can knock them).
3. Ceramic heat emitters (the only acceptable “lamp” alternative)
- Outputs heat, no light
- Mounts in a standard porcelain reptile-grade fixture
- Wattage: 60-150W
- Cost: $25-50 for the bulb + $20 for the fixture
Safer than heat lamps because the surface is contained and there’s no glass to break. Still requires careful mounting (not a clip clamp) and a thermostat. Acceptable but not preferred over flat panels.
Don’t use:
- Heat lamps with incandescent or halogen bulbs — fire risk
- Space heaters designed for human rooms — fire risk + tip-over hazard
- Propane/kerosene heaters — fire + carbon monoxide
- Light bulbs as a heat source — combine fire risk with sleep disruption
- Hair dryers, blowers, etc. — should be obvious but people try this
Three non-electric moves that often replace heating entirely
These three together typically keep a coop 10-15°F warmer than ambient without any heater running:
Move 1: Deep litter method
Let bedding accumulate to 8-12 inches deep over the winter rather than scooping it out. Mix in pine shavings, dry leaves, and a sprinkle of food-grade DE. The pile composts slowly in place, generating real microbial heat. Stir weekly with a pitchfork to prevent caking.
Bonus: come spring, you have a half-composted soil amendment for the garden.
Move 2: Seal drafts at roost height, leave roofline vents wide open
A draft is cold air moving directly on the birds at roost height. Ventilation is humid air escaping through the roofline. You need the second; you must eliminate the first.
Walk the coop with a candle on a still night. Watch where the flame flickers at roost height — those are draft points. Caulk, weatherstrip, or stuff steel wool in those gaps. Then look up — the ridge vent or gable vents should be wide open year-round.
Move 3: Eastern exposure + thermal mass
Site the coop with the entrance and any windows facing east. Morning sun warms the coop immediately and the chickens come out of roost mode quickly.
If your coop is permanent, set a few patio paver blocks or a row of cinder blocks against the inside of the south or east wall during fall. They absorb daytime sun heat and slowly release it overnight. Crude but effective.
Cold-hardy breed selection (the cheat code)
If you’re in cold country, the single highest-leverage move is buying the right breed. Cold-hardy breeds are bred for thick down, small combs (less frostbite), and high body-fat metabolism in winter.
Best cold-climate breeds:
- Buff Orpington
- Plymouth Rock (especially Barred Rock)
- Australorp
- Wyandotte (with rose comb — frostbite-resistant)
- Brahma
- Jersey Giant
- Chantecler (literally bred in Quebec for cold)
- Rhode Island Red
Avoid for cold climates: Leghorns, most Mediterranean breeds, breeds with large single combs, and any “fancy” exhibition breeds. Mediterranean breeds were bred in Italy and Spain for warm weather and thin feathering.
If you’re already past the breed-selection moment, the deep-litter + draft-sealing + thermal-mass combo can keep less-hardy breeds healthy through normal cold spells. But for Iowa-and-north sustained cold, breed matters more than any heater you can buy.
The winter prep checklist (do these before December)
- Clean and refresh ventilation — clear any blockages at roofline vents
- Walk the coop with a candle, seal drafts at roost height only
- Switch to deep litter — add 6-8 inches of pine shavings
- Install a heated waterer or deicer (this is the actual cold-weather win)
- Apply Vaseline or coconut oil to combs/wattles of large-combed birds
- Add 1-2 hours of supplemental LED light on a timer for laying
- Inspect roosting bars — 2x4 flat-side-up protects feet from frostbite
- Stockpile pine shavings, feed, and grit before the first snow
- If using a heater, install thermostat outlet + test thermostat trigger
What about cold + wet climates?
The Pacific Northwest, parts of New England, and humid Midwest winters create a different problem: not extreme cold, but sustained moisture. The risks here are coccidiosis, bumblefoot, and respiratory disease — not frostbite.
For wet-cold climates:
- Maximize roofline ventilation (more than you’d think — 1.5x the standard 1 sq ft per bird)
- Replace bedding more often than you would in dry cold
- Use sand or kiln-dried pine shavings (not straw, which holds moisture)
- Add a covered run extension so birds aren’t forced into the coop when it rains
Heat doesn’t help wet-cold; dryness does.
If you absolutely must heat: the safe setup
For the 5% of coops that genuinely need supplemental heat:
- Flat-panel radiant heater (Sweeter Heater or equivalent), wall-mounted with the included bracket
- Thermostat outlet (Inkbird ITC-308 or similar), set to turn on at 35°F and off at 45°F
- GFCI-protected outdoor extension cord, properly sized for the wattage
- No multi-tap strips, no daisy-chained cords, no clip clamps
- Test the setup before deep winter — turn the thermostat to 80°F, confirm it kicks on, then return to 35°F
That’s the entire safe-heating playbook. Anything more complicated is probably a fire waiting to happen.
Internal links worth checking next
- Chicken Coop Insulation Guide — when insulation helps (and when it just traps moisture)
- Coop Ventilation Guide — the 1 sq ft per bird rule and where to cut vents
- Winter Chicken Coop Guide — full winter prep beyond just heating
- Chicken Coop by Climate — climate-specific design changes
- Expensive Coop Mistakes — the heat-lamp fire is on this list for a reason