When people talk about chicken coop lighting, they’re usually chasing one goal: consistent eggs in the darker months. Lighting can help—because chickens respond to day length—but it also comes with real tradeoffs: stress from inconsistent schedules, safety hazards from bad wiring, and wasted money from inefficient bulbs or always-on setups.
Core Idea
Light management is about day length and consistency. Brightness matters, but schedule matters more.
Don’t Do This
24/7 lighting or random on/off switching. Birds need a dark period for rest and a stable routine.
Lighting Basics: What Chickens Actually Respond To
Chickens are seasonal layers. Their reproductive cycle is strongly influenced by photoperiod (day length). As days shorten in fall and winter, many hens naturally slow or stop laying. When days lengthen again, production rises. Supplemental light works by extending the “day” to a more summer-like length.
Two Things Lighting Does in a Coop
- Extends Day Length
- • Signals “productive season” to many breeds
- • Helps maintain laying in winter for some flocks
- • Works best when consistent daily
- Improves Visibility
- • Helps you do chores early/late
- • Can reduce accidents in tight coops
- • Can help timid birds find roosts—if kept gentle
What Matters Most: Schedule > Brightness
Many people overthink the bulb and underthink the timer. Your birds don’t need stadium lights. They need a consistent routine, a predictable dawn, and a predictable dark period.
Fast setup?
Use an LED bulb + protected fixture + timer. Add light in the morning, not at night.
Natural Light: What It Does Well (and Where It Falls Short)
Natural light is the default—and for many backyard keepers, it’s the best option because it’s aligned with the birds’ biology. If you’re okay with fewer eggs in winter, natural light reduces complexity and risk.
Pros of Natural Light
- Zero energy cost and no wiring/fire risk
- Natural rest cycle (dark nights support recovery)
- Lower management overhead (no timers to fail)
- Less pressure on birds that are molting or older
Cons of Natural Light
- Seasonal egg drop is normal and often significant
- More variability week-to-week with storms and short days
- Early winter mornings can make chores harder
Natural-light strategy:
Accept the winter slowdown, focus on nutrition and low stress, and plan your egg needs seasonally.
Artificial Light: What It Changes
Artificial lighting can extend your flock’s perceived day length, which can support more consistent laying during short-day months. But it also changes how “hard” the birds run their laying cycle. Some people love the reliability; others prefer to let hens rest.
Pros of Artificial Coop Lighting
- More consistent day length through winter
- Better predictability for egg availability
- Convenience for morning chores and checks
Cons / Tradeoffs
- Safety risk if wiring is sloppy or fixtures are exposed
- Stress risk if schedules are inconsistent (power outages, manual switching)
- Can push production when birds might otherwise rest
Best Practice
If you use artificial light, use a timer and keep a consistent dark period every night.
Egg Production Impacts (and Realistic Expectations)
Lighting affects laying because it affects day length. But lighting is not a magic egg switch. Egg output also depends on breed, age, molt status, nutrition, health, temperature stress, and overall coop comfort.
Likely Outcomes
- Many laying breeds maintain better winter production with longer day length
- Production becomes more predictable when day length is stable
- You may see fewer “random gaps” in laying
Still Normal Even With Light
- Molting pauses (light won’t override a heavy molt reliably)
- Older hens producing fewer eggs
- Stress events (predator scares, overcrowding, illness) reducing lay
Night Lighting vs Morning Lighting
If you add light, the easiest low-stress method is extending the day in the early morning. That way birds still go to roost naturally at dusk, instead of getting “surprised” by darkness when a timer shuts off at night.
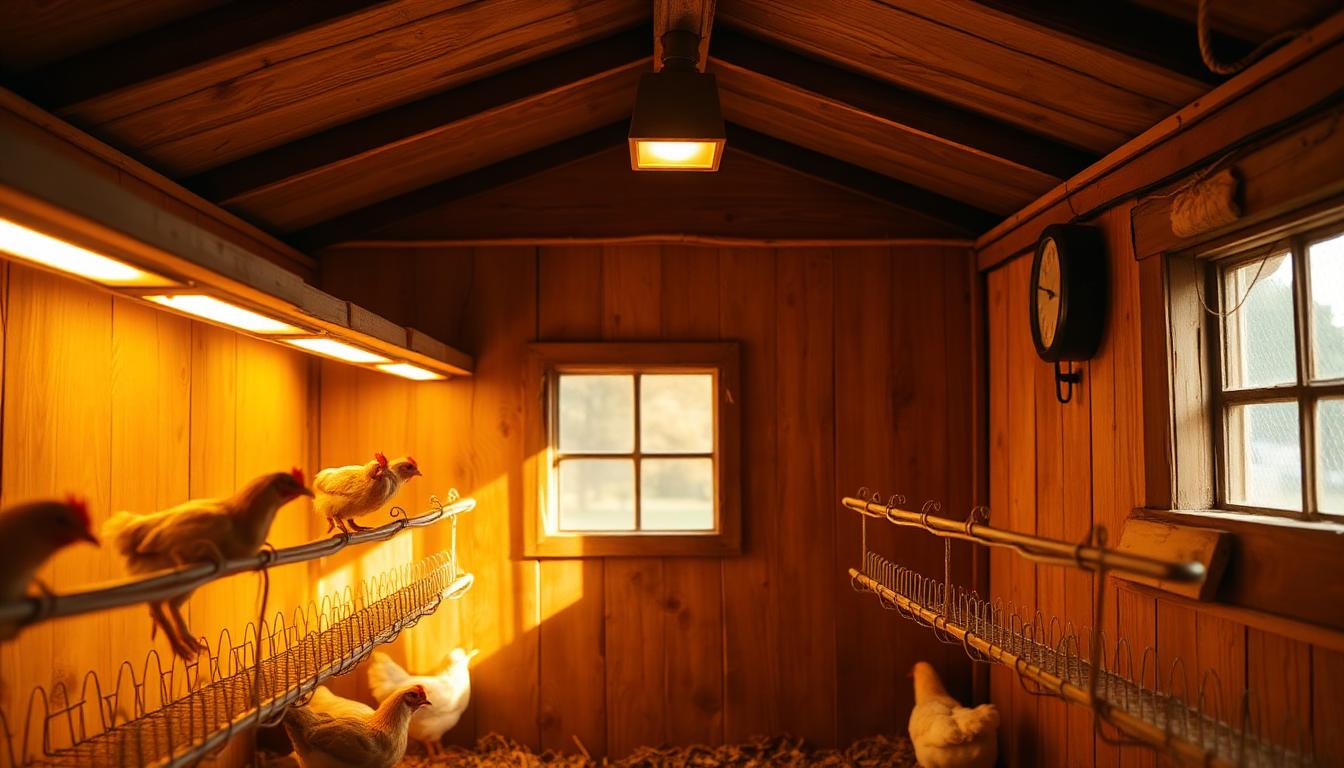
Energy Efficiency: LEDs, Watts, and Real Costs
For chicken coop lighting, LEDs are usually the best balance of low power and long lifespan. Energy cost matters less than safety—but efficiency is an easy win.
Efficiency Checklist
- Use LED bulbs (low watts for enough light)
- Use a protected fixture so birds can’t hit the bulb
- Use a timer to avoid “oops, I left it on”
- Keep lighting moderate; you don’t need floodlights
Rule of Thumb
Most coops need “see your feet and birds” light, not “shop lighting.” If birds act restless at night, it’s probably too bright or timed wrong.
Timer Systems: Simple, Safe Setups
A timer system is what turns lighting from “random” into “routine.” You want repeatability, not daily manual switching. There are three practical timer approaches:
Timer Type Pros Cons Best For
Mechanical outlet timer Cheap, simple, reliable Less flexible; can drift slightly Basic morning light schedule
Digital outlet timer Precise schedule; multiple programs More complex; needs correct setup after outages More advanced routines
Smart plug Easy schedule changes; remote control Needs stable Wi-Fi; more failure points People who already run smart home gear
Best Timer Approach for Most People
Morning-only extension: turn on before sunrise and turn off after natural sunrise. This keeps dusk natural and reduces roosting confusion.
Electrical Safety Checklist (Non-Negotiable)
Coops are dusty, sometimes damp, and full of curious birds. Lighting has to be installed like it’s in a workshop—protected and durable.
Do
- • Use outdoor-rated cords and fixtures
- • Protect bulbs with a cage-style guard
- • Route cords through conduit or protective channel where possible
- • Use GFCI protection on the outlet circuit
- • Keep fixtures away from bedding and dust piles
Don’t
- • Use flimsy indoor extension cords across wet ground
- • Hang bare bulbs where birds can peck or jump into them
- • Run cords where rodents can chew them
- • Install high-heat bulbs near flammables
- • Assume “low watt” means “no fire risk”
Safety First
If you aren’t comfortable with wiring, keep it simple: a protected plug-in fixture + outdoor cord + outlet timer + GFCI outlet.
3 Recommended Lighting Setups
Setup A Natural-Only (No Artificial Light)
- • Best if you’re okay with seasonal egg decline
- • Focus on comfort: ventilation, dryness, wind control
- • Use good windows/vents for daytime visibility
Setup B Basic Egg-Support Lighting (Morning Extension)
- • One LED bulb in a guarded fixture
- • Mechanical or digital outlet timer
- • Program: on before sunrise, off after sunrise
Setup C Efficient “Set and Forget” (Digital Timer + LED)
- • LED bulb + guarded fixture + digital timer
- • Seasonal adjustments every few weeks to match changing daylight
- • Best if you want stable output and predictable routine
Don’t chase perfection:
A simple, consistent timer beats a complicated smart setup that fails twice a month.
Bottom Line
The best chicken coop lighting strategy is simple: decide whether you want to accept natural seasonal production changes, or support winter laying by extending day length with a safe, efficient artificial setup. If you add light, prioritize consistency, protect the fixture, and use a timer—morning extension is usually the lowest-stress approach.
Safety Warning
DIY electrical work has real risks. Use outdoor-rated components and GFCI protection, and consult a qualified electrician if unsure.